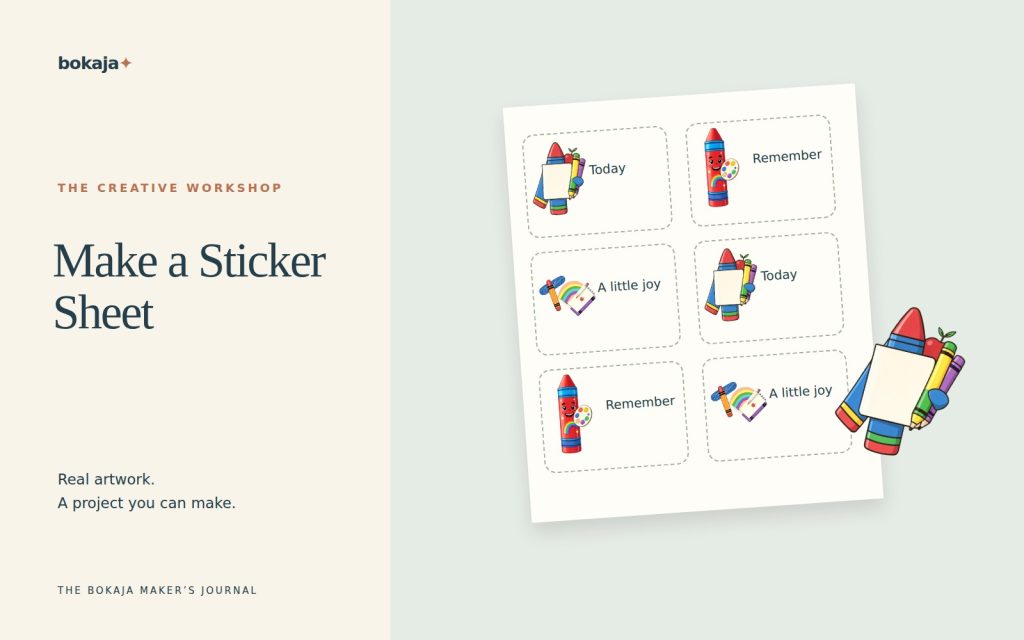
A useful sticker sheet begins with the finished sticker sizes and the way you will cut them. Arrange the artwork only after you know the paper, printable area and spacing each piece needs. Otherwise, a neat screen layout can become an awkward sheet with tiny labels or fragile borders.
Choose Rainbow Crayon Art Studio for a coordinated school sheet, or Storybook Pencil & Book Club for reading reward stickers. Both are paid PNG artwork collections for layouts you design yourself; add your own text, shapes and measurements.
Make it with these Bokaja sets
Choose the style that fits your project. These are digital PNG artwork collections: add your own text and build the layout shown in this guide.
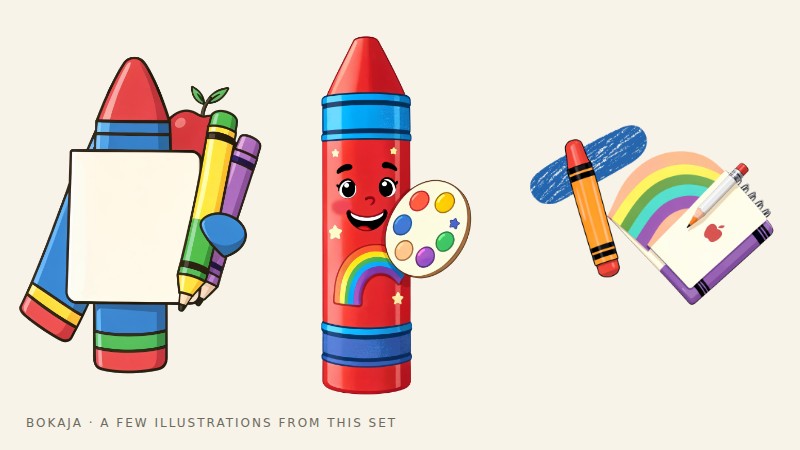
Rainbow Crayon Art Studio
Art-class artwork for a coordinated school sheet.

Storybook Pencil & Book Club
Book-themed artwork for reading reward stickers.
Worked example: nine hand-cut classroom stickers on Letter paper
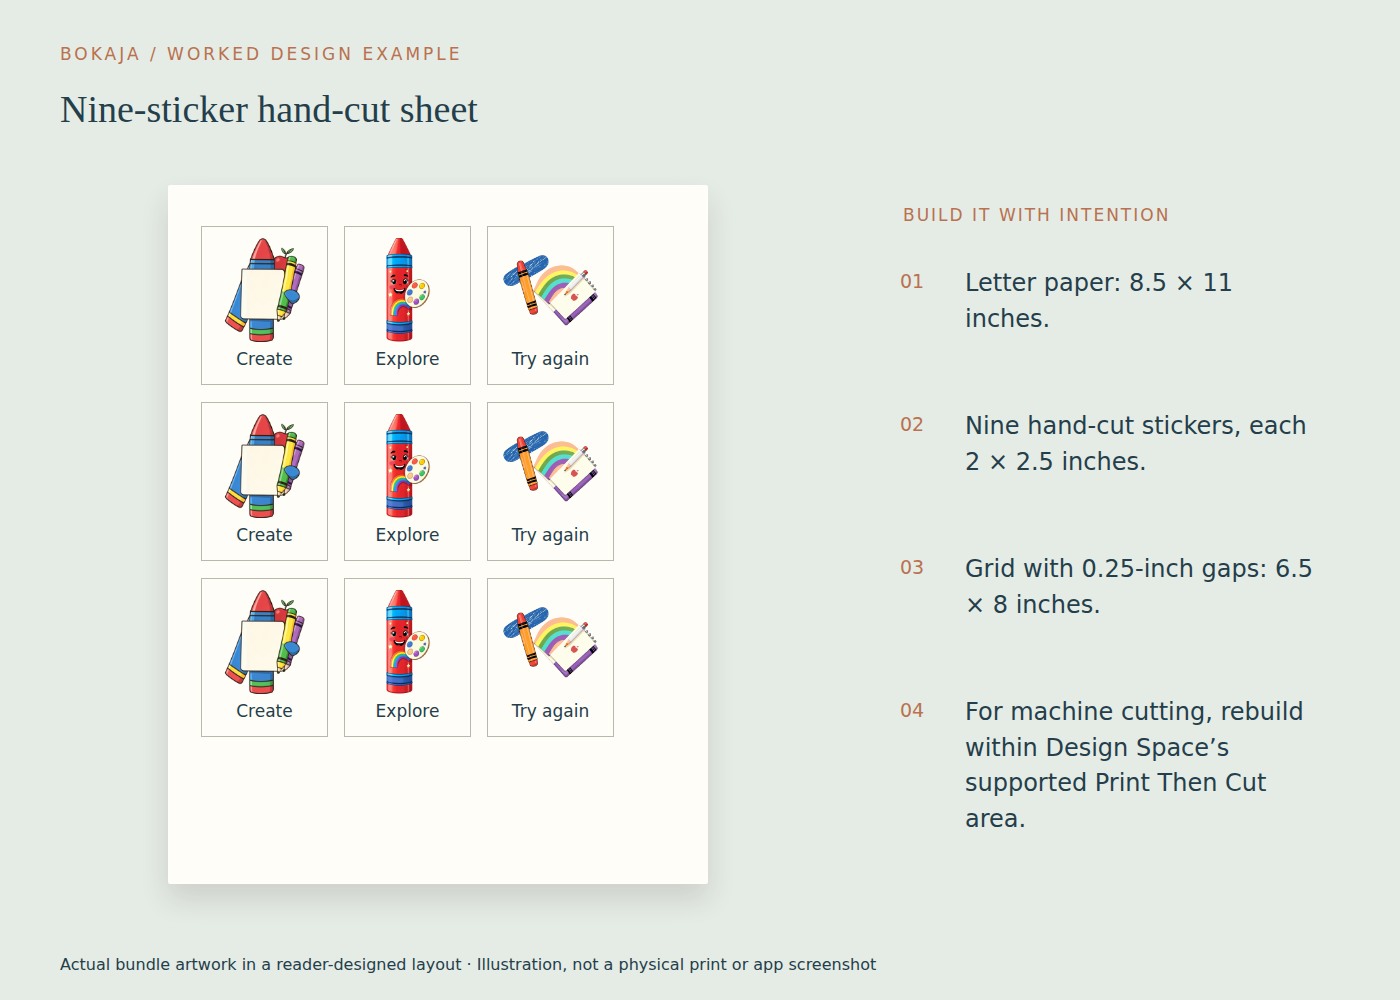
Start with 8.5 × 11-inch paper and nine complete stickers measuring 2 × 2.5 inches each. Use artwork from the art-studio collection for one theme, with book-club artwork as a reading-focused alternative. Add any reward wording yourself.
With 0.25-inch gaps, three columns occupy 6.5 inches: 3 × 2 + 2 × 0.25. Three rows occupy 8 inches: 3 × 2.5 + 2 × 0.25. Centering that grid on Letter paper leaves 1 inch at the left and right and 1.5 inches at the top and bottom. Check that this falls inside your printer’s actual printable area.
Build one sticker first. Keep the illustration and message inside its complete 2 × 2.5-inch boundary, leaving room for the cut edge. Duplicate it eight times, then replace artwork or wording without changing the outer dimensions. Align the outer sticker rectangles, not the irregular shapes of the illustrations.
Print a plain-paper proof at actual size. Measure one sticker and both gaps before using adhesive stock. If you accidentally sized only the artwork to 2 inches and added the border afterward, the complete stickers may be wider than the planned columns. Fix the master, then regenerate the sheet.
This is a hand-cut layout. For Print Then Cut, recreate the individual sticker compositions within Design Space’s supported area for your machine, page size and current settings. The full Letter page is not an available cutting area just because it fits your printer. Let the software’s supported layout and registration requirements determine the machine-cut sheet.
For a first batch, make nine useful stickers rather than nine unrelated decorations: three process reminders, three reading prompts or nine name labels. A coherent sheet is easier to judge because the type size, cut border and purpose remain comparable.
Plan each sticker’s boundary
Decide whether a sticker has a rectangular outline, a simple circle or a contour around the illustration. Leave a deliberate border where needed. Text should sit comfortably inside the cut line, not balance on it.
For hand cutting, simple rounded shapes are often more practical than highly detailed contours. For machine cutting, thin tails and narrow gaps can still be fragile. A cutting machine does not make every intricate outline a good physical sticker.
Inspect the PNG for stray pixels. An isolated dot outside the subject can affect a contour-based workflow even if it seems insignificant in a preview.
Build the hand-cut version
Create a document at the paper size, mark the usable area and duplicate a correctly sized sticker cell. Place the art and text inside each cell. Use alignment and spacing tools to keep the grid consistent.
Export in the format your printer or print service expects. Print one proof at the intended scale, measure a sticker and cut it out. Attach it to a scrap of the intended surface before committing to a batch.
Confirm that the sticker paper is suitable for your printer type. A product intended for one printing technology is not automatically suitable for another, and “sticker paper” does not by itself mean waterproof or dishwasher-safe.
Build the Print Then Cut version
Use your machine’s current supported print area, not the dimensions from the hand-cut example. Prepare each sticker’s printed artwork and intended outer boundary, then arrange the pieces within Design Space’s supported workflow.
A complete flattened sheet can behave as one large printed object rather than a set of independent stickers. Inspect the cut preview to confirm the individual contours you want. Preserve registration marks and print scaling through the supported process.
The Canva versus Cricut guide explains where layout work and machine setup differ. Canva can help compose artwork; the Cricut-specific production setup still belongs in the compatible cutting workflow.
Choose kiss-cut or through-cut deliberately
A kiss-cut is intended to cut the sticker layer while leaving its backing usable. A through-cut separates the full piece. The correct material settings depend on the actual paper, laminate if used, blade and machine.
Test on a small section. Check whether the sticker peels cleanly and whether the backing remains intact as intended. Do not promise a universal pressure setting for all printable vinyl or paper.
Label and keep the master
Save the editable layout, the source files and the final production file separately. Record the paper, finished dimensions and successful settings. That makes a second batch repeatable and keeps a later export from silently changing the scale.
If you plan to sell the finished physical stickers, review the current licence and the paper manufacturer’s performance claims. Do not redistribute the original PNGs or describe an untested sticker as waterproof merely because the artwork looks polished.
Your next step
Keep one approved sticker sheet and record its complete sticker sizes, gaps and paper. Change the artwork inside those boundaries rather than accidentally expanding the grid.
Start with Rainbow Crayon Art Studio, or choose Storybook Pencil & Book Club for the alternative theme described above. These collections supply PNG illustrations for your own layout; the project text and construction remain yours.