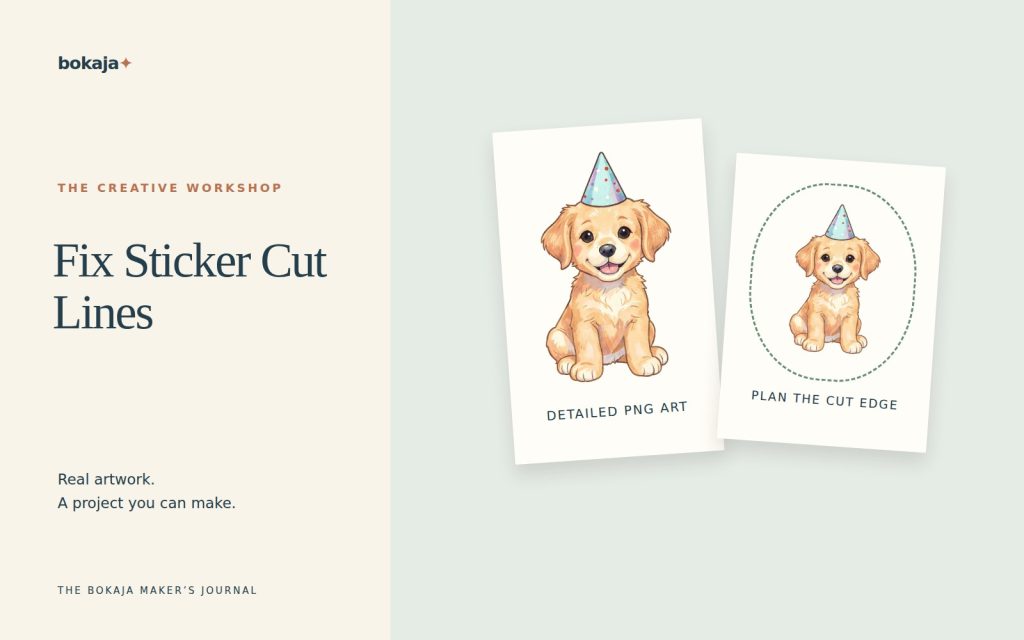
When Cricut Print Then Cut follows the wrong PNG outline, inspect the visible boundary of the imported image and the way its layers are prepared. An unwanted white rectangle, a stray pixel or an unflattened composition can produce a different cut result from the one you intended.
Choose Puppy Birthday Bakery for a rounded party sticker, or Little Monster Trick-or-Treat Parade for seasonal sticker practice. Both are paid PNG artwork collections for layouts you design yourself; add your own text, shapes and measurements.
Make it with these Bokaja sets
Choose the style that fits your project. These are digital PNG artwork collections: add your own text and build the layout shown in this guide.
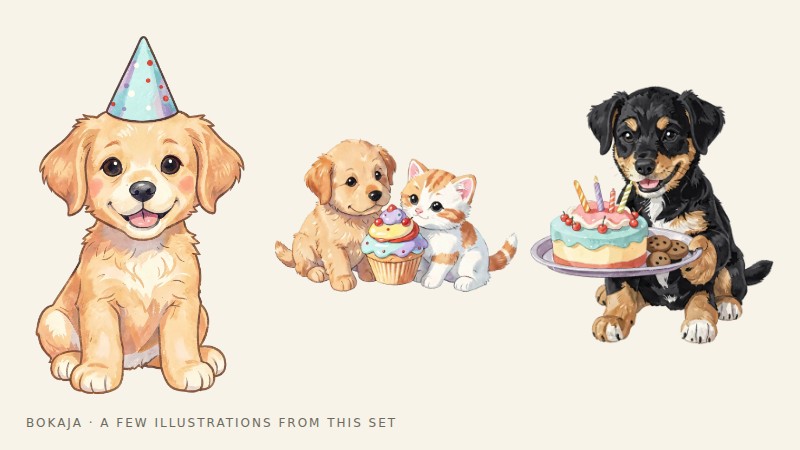
Puppy Birthday Bakery
Puppy birthday artwork for a rounded party sticker.
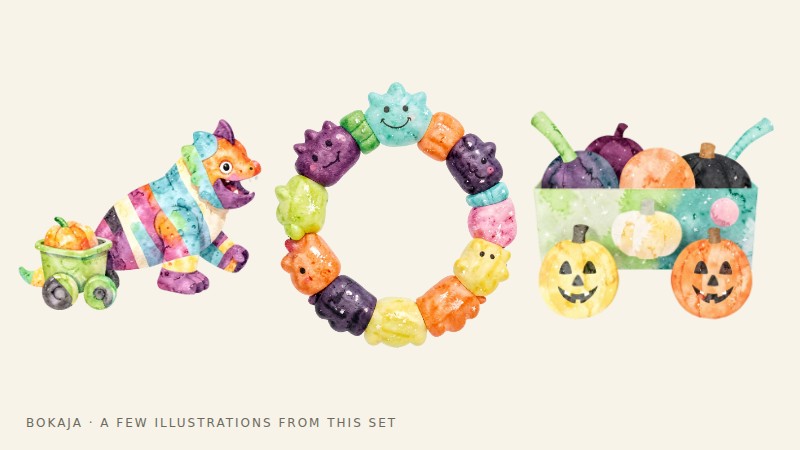
Little Monster Trick-or-Treat Parade
Halloween artwork for seasonal sticker practice.
Worked example: turn a detailed PNG into one solid round sticker
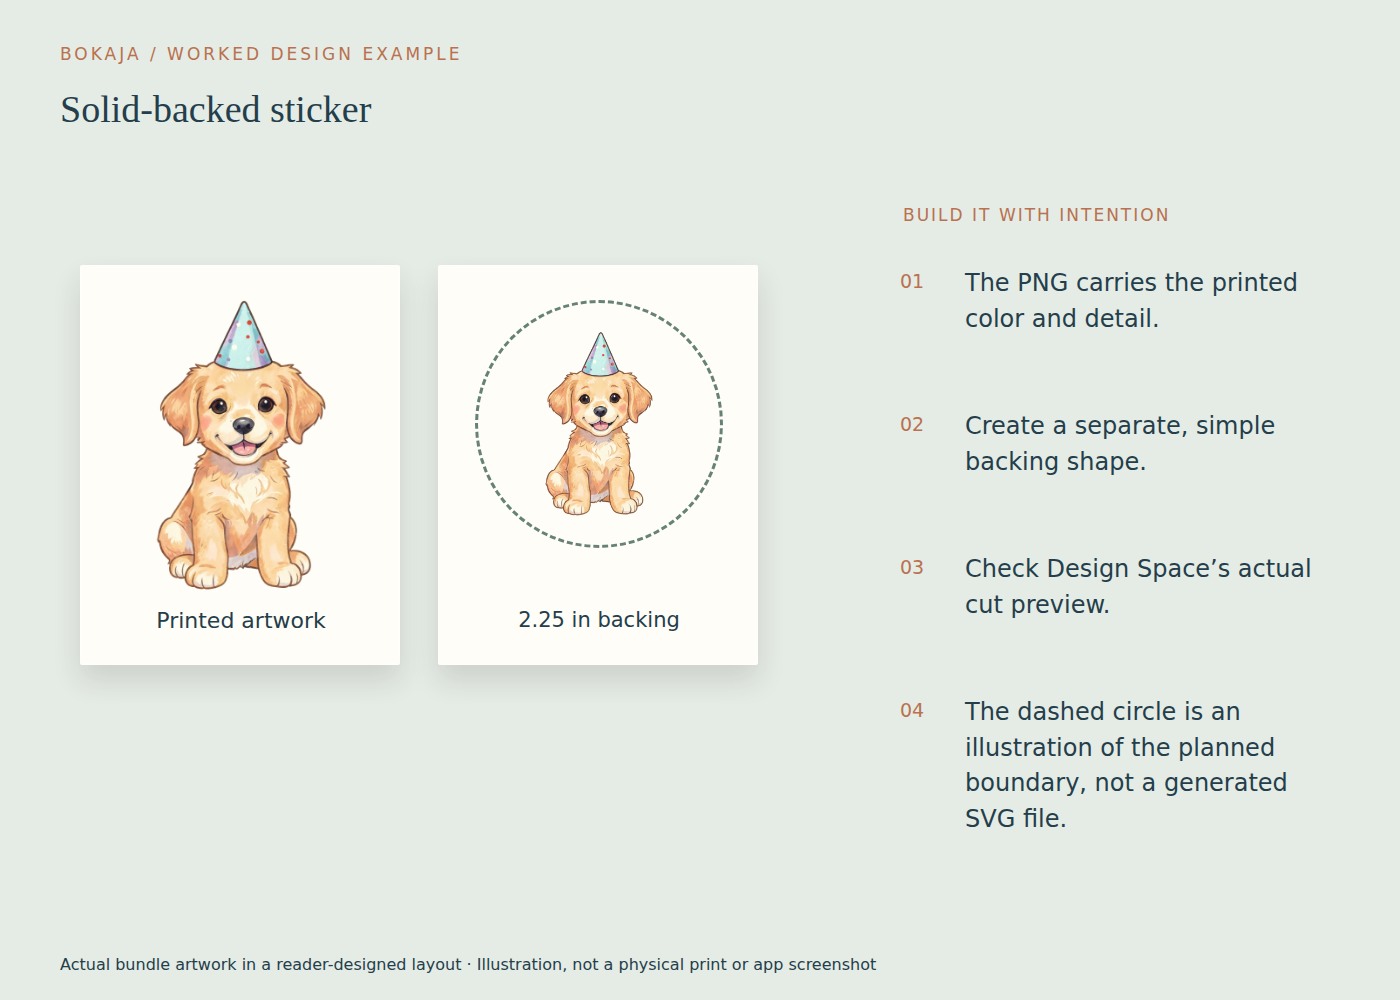
For a puppy party sticker, decide that the blade should cut a single 2.25-inch circle. The illustration can contain gaps and separate details; the backing must provide the continuous printable area you want to keep.
- Add a 2.25 × 2.25-inch circle as a backing shape.
- Place the puppy PNG above it and scale the visible artwork to fit inside a 2-inch-wide zone. Check its height too; a tall image may need to be smaller.
- Center the composition visually. A symmetrical image may center mathematically, while a side-heavy pose may need a small optical adjustment.
- Confirm the backing is behind every part that should remain connected, including transparent interior gaps.
- Select the illustration and backing together and use the Print Then Cut preparation appropriate to the current Design Space interface, including Flatten where needed.
- Inspect the preview. The intended outer boundary is the circle, not separate cuts through the illustration.
The difference between a 2-inch artwork zone and 2.25-inch circle is 0.25 inch across, leaving roughly 0.125 inch per side where the artwork reaches its maximum width. That is a design allowance, not a promise of machine alignment accuracy. Fine protruding details may require more breathing room.
If the preview still shows interior cuts, first check whether the backing actually fills those spaces and whether the correct layers were selected. If the cut shape is right but the blade lands off-center on paper, investigate calibration and the printing setup separately. Adding a larger offset may hide the symptom without fixing alignment.
Make one complete sticker on the intended material. Keep the same printer scaling and machine workflow for the later sheet; a successful single sticker does not justify rebuilding the final file through an unrelated page-layout export.
Inspect the source over a colored background
Place the original PNG on a contrasting canvas. Confirm that the surrounding space is transparent and that any white area is intentional.
A white sticker border is a designed element. A full-page white rectangle accidentally added during export is a different object and can change the outer boundary. If the file has that rectangle, return to the source or export process rather than trying to fix everything inside the cutting app.
Look for isolated dots outside the illustration. A tiny visible speck may be nearly invisible on screen yet contribute an unwanted contour. Also inspect gaps between limbs, letters or accessories; decide whether those spaces should remain uncut inside the sticker.
Separate the illustration from the backing shape
For a sticker with a border, build a backing shape or use an appropriate outline/offset feature if available in your current workflow. Choose a border that leaves enough room for the actual artwork and the tolerances of your material and cutting setup.
Do not copy a border width blindly from a different project. A very small sticker and a large topper need different proportions. Thin protrusions can become fragile even when they look attractive in the preview.
Check that the backing is behind the illustration and that the intended colors remain visible. If the backing covers the artwork, a layer-order issue can look like an import failure.
Prepare one printed composition intentionally
In Design Space, Flatten is used to combine a selected design into a printable layer for Print Then Cut. Grouping and attaching are not interchangeable substitutes: they solve different organization and placement problems.
Flattening does not automatically fill every transparent hole. If you want one solid sticker, make sure the backing shape actually covers the interior gaps as well as the area behind the illustration.
Select only the elements that belong to the finished sticker or topper. Check the operation and resulting preview after flattening. Do not flatten every unrelated item on the canvas into one large rectangle unless that is genuinely the desired output.
Because interface behavior can change, use the current in-app preview and Cricut’s help instructions as the final reference. The important result is one appropriate outer cut boundary around the printed composition, not merely a particular button having been pressed.
Use the preview as a diagnostic tool
Inspect the prepared sheet before printing. Ask:
- Is the cut around the intended outer shape?
- Are interior details being cut when they should only be printed?
- Is there an unexpected rectangular border?
- Are all pieces within the supported printable area?
- Are registration marks clear and unobstructed?
Do not crop, resize or rearrange the registered print outside the supported workflow. Changing the printed geometry can break the relationship between the marks and the expected cut positions.
Diagnose alignment separately
If the contour is correct but the blade lands beside it, you have a different problem from an incorrect outline. Check the correct machine/material setup, current calibration guidance, print scaling and the condition of the printed registration marks.
A glossy surface or poor print quality can affect sensing in some setups. Follow the machine manufacturer’s supported material and troubleshooting instructions rather than covering marks or improvising changes that hide the symptom.
Test one object before a whole sheet
Begin with a simple shape and one illustration. Print and cut a small proof using the material you intend to use. Inspect the edge, remaining border and delicate areas before duplicating it.
Your next step
Save the successful circle-backed sticker as the master. When changing the illustration, inspect the boundary again before duplicating it into a full machine-cut sheet.
Start with Puppy Birthday Bakery, or choose Little Monster Trick-or-Treat Parade for the alternative theme described above. These collections supply PNG illustrations for your own layout; the project text and construction remain yours.
For commercial or shared deliverables, check the current artwork licence for the intended use.