Printable planner stickers fit best when you measure the actual planner rather than relying on a generic template name. Begin with the boxes you use most, decide what each sticker needs to do, and preserve enough blank space for handwriting.
Choose Autumn Animal Leaf Pressing Club for seasonal planner accents, or Rainbow Crayon Art Studio for creative-session markers. Both are paid PNG artwork collections for layouts you design yourself; add your own text, shapes and measurements.
Make it with these Bokaja sets
Choose the style that fits your project. These are digital PNG artwork collections: add your own text and build the layout shown in this guide.

Autumn Animal Leaf Pressing Club
Autumn artwork for seasonal planner accents.
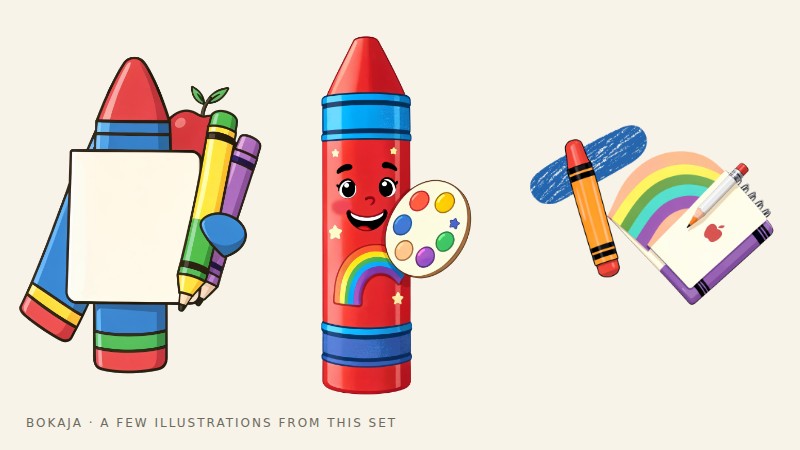
Rainbow Crayon Art Studio
Art-studio artwork for creative-session markers.
Worked example: a 1.5 × 2-inch planner sticker

Measure the actual planner box. For this example it is 1.5 inches wide and 2 inches high. Create a sticker with those outside dimensions, then keep its useful content 0.1 inch inside the cut edge. The writable interior is therefore 1.3 × 1.8 inches.
Place a small autumn PNG in one corner, no more than about 0.4 inch wide to begin with. Draw a light heading strip or two short writing lines yourself. Test with a realistic entry such as “Dentist 10:30,” not just the word “Plan.” If it cannot fit comfortably, the sticker has too much decoration or too little writing space.
At 300 PPI, the full sticker is 450 × 600 pixels. A 1.5-inch-wide image printed at 95% becomes 1.425 inches wide, leaving an unexpected 0.075-inch difference. That can be visible inside a narrow planner cell, so print at the intended scale and measure the actual cut rectangle.
For hand cutting, align complete sticker boundaries and leave enough space for your cutting method. For Print Then Cut, prepare each backing and artwork combination in the supported machine workflow. Do not take a full-sheet screenshot and expect the machine to recover individual sticker boundaries cleanly.
Try the adhesive on a spare or inconspicuous planner page using the intended pen. Check whether ink smears, whether the sticker makes the page too stiff and whether removal damages the paper. “Removable” behavior depends on the adhesive and page surface, not on the PNG.
Make one week’s worth first. If your handwriting crosses the sticker border every day, enlarge the blank area or switch to a small corner icon instead of a full box sticker.
Measure one real spread
Open the planner to a typical week and measure the usable width and height of its boxes. Check whether weekdays and weekends share the same dimensions and whether the binding reduces access near the center.
Write down the measurements with the planner edition or year. Products can change between versions even when the range name stays familiar.
Cut a plain-paper rectangle slightly smaller than the target cell and place it on the page. A small clearance around the edges can make alignment easier and keep printed grid lines visible.
Choose three useful sticker types
Start with a heading label, a small task marker and a note box. These cover different functions without requiring a large decorative kit.
For example, if a planner cell is 38 millimeters wide, you might prototype a 36-millimeter-wide heading label. Its height should suit the words and leave room below for the day’s entries. This is a measured example, not a standard that fits every planner.
A meal-planning sticker may use a tiny food illustration at one end and a blank line beside it. A full character filling the entire box would leave less room for the actual meal plan.
Add a restrained visual system
Choose one palette and a few related PNGs. Repeating an image style can make categories recognizable without assigning a new decoration to every task.
Keep functional words editable in the master. That lets you change “Meals” to “Shopping” without rebuilding the sticker around a flattened text image.
Create a sheet around the cutting method
For hand cutting, rectangular strips can be efficient. Align equal-width stickers into rows and leave enough space to cut without damaging neighboring pieces.
For a compatible machine workflow, prepare the intended sticker boundaries and use the current supported Print Then Cut area. Inspect the preview to make sure individual stickers will be cut as intended rather than as one large sheet rectangle.
Print one proof at the correct scale and measure it. A small percentage of automatic resizing can matter when a sticker must fit a narrow planner cell.
Test the adhesive on a spare page
Apply a sample to a page you can afford to mark, or to similar paper. Check whether it wrinkles, shows through or can be repositioned if that matters to you.
A strong adhesive is not automatically better. If you frequently move tasks, a removable material may be more useful, provided it performs as claimed on your paper. Follow the manufacturer’s description and test rather than inferring behavior from the finish.
Check the thickness of layered stickers. Several stacked pieces can make a planner bulky or create an uneven writing surface.
Build the first week before printing a season
Use a small batch for one ordinary week. Notice which labels you actually use and which remain on the sheet. Revise the mix around real habits instead of printing equal numbers of every design.
Keep the tested dimensions and paper settings with the editable file. When you change planners, measure again rather than resizing the entire old kit by eye.
For screen-based journaling, see the separate digital sticker guide. Before selling printed stickers or distributing digital sheets, review the current artwork licence. A useful planner sticker should support planning, not consume the space and attention the planner was meant to provide.
Your next step
Keep the first successful sticker with the planner measurements and paper notes. Recheck a new planner edition rather than assuming its boxes match the old one.
Start with Autumn Animal Leaf Pressing Club, or choose Rainbow Crayon Art Studio for the alternative theme described above. These collections supply PNG illustrations for your own layout; the project text and construction remain yours.