To calculate a PNG’s printed size, divide its pixel dimensions by your chosen pixels per inch. To calculate the pixels you need, multiply the printed dimensions in inches by the target PPI. Changing a file’s DPI label alone does not create extra detail.
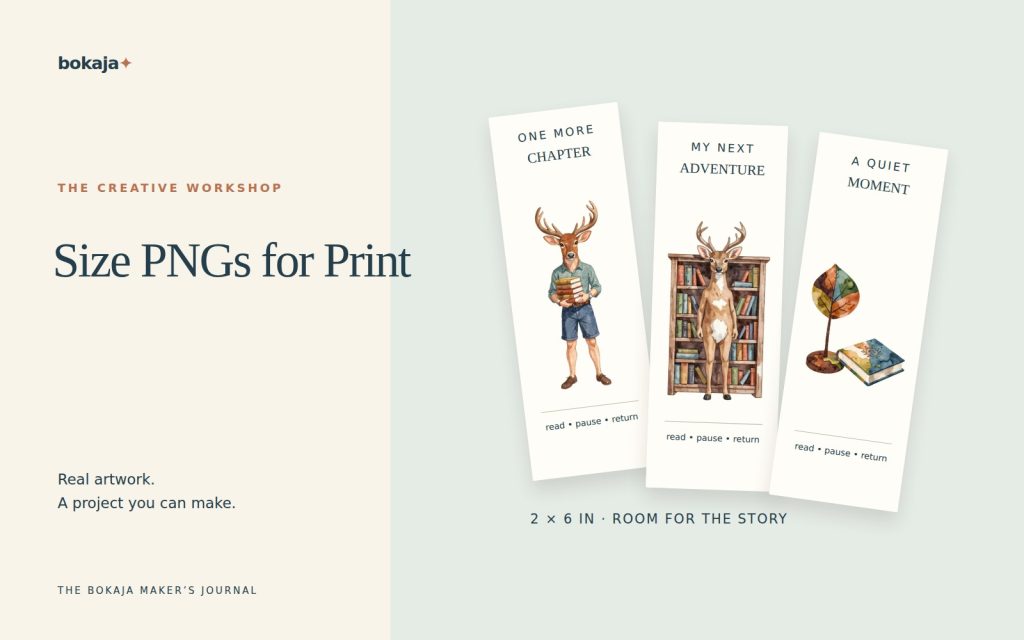
Choose Autumn Woodland Deer Acorn Library for a bookmark-scale example, or Dinosaur Birthday Adventure for a larger invitation-scale comparison. Both are paid PNG artwork collections for layouts you design yourself; add your own text, shapes and measurements.
Make it with these Bokaja sets
Choose the style that fits your project. These are digital PNG artwork collections: add your own text and build the layout shown in this guide.

Autumn Woodland Deer Acorn Library
Woodland library artwork for a bookmark-scale example.

Dinosaur Birthday Adventure
Birthday artwork for a larger invitation-scale comparison.
Worked example: size the artwork, not just its transparent square
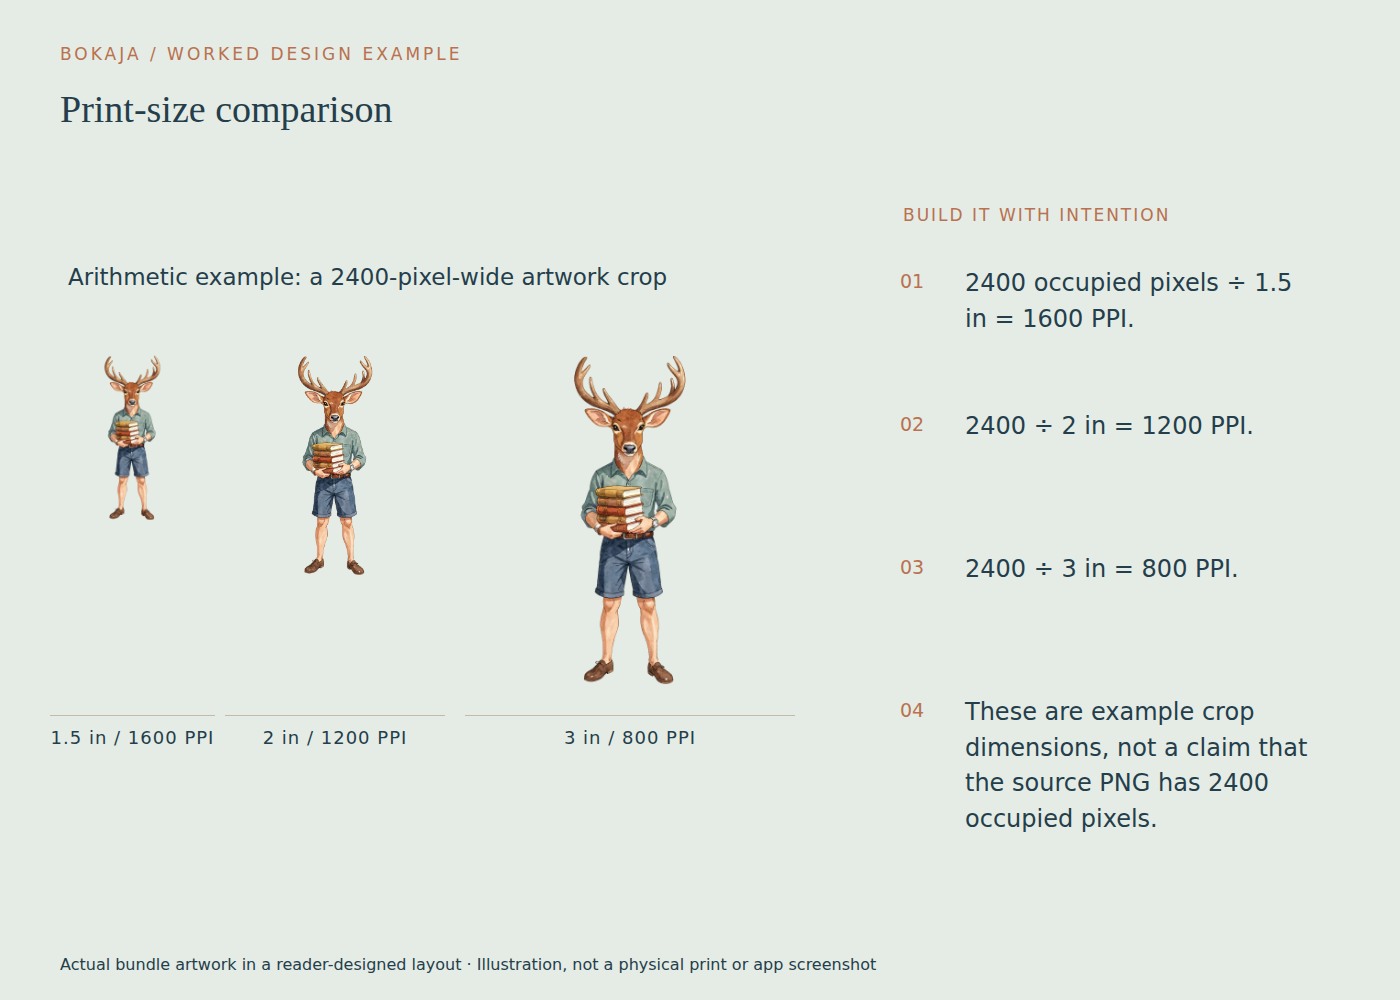
The linked collections list 3072 × 3072-pixel PNG canvases. That is a useful starting fact, but your chosen illustration may occupy less than the full square. Here is how to turn that listing specification into a project decision.
Suppose you measure the visible illustration at 2400 pixels wide in your image editor. This is an example measurement, not a promised occupied width for every file. You want to compare a bookmark accent, invitation illustration and small display image.
| Visible printed width | Calculation | Effective PPI |
|---|---|---|
| 1.5 inches | 2400 ÷ 1.5 | 1600 |
| 2 inches | 2400 ÷ 2 | 1200 |
| 3 inches | 2400 ÷ 3 | 800 |
| 8 inches | 2400 ÷ 8 | 300 |
| 10 inches | 2400 ÷ 10 | 240 |
For a 2-inch bookmark accent, pixel count is unlikely to be the limiting factor in this example; the legibility of tiny illustrated details matters more. For a 10-inch display, compare 240 PPI with your printer’s actual requirement and viewing distance before proceeding.
Place the image into a 6 × 4-inch comparison page at 1.5, 2 and 3 inches wide. If the larger copies cannot fit side by side, use separate pages rather than overlapping them. Label each with the visible width. Export at the intended output resolution and print at actual size.
Cropping empty transparency changes the canvas dimensions, not the underlying detail. After cropping, do not let the application automatically enlarge the visible subject to fill the old canvas width. Record the intended physical size again. This single check prevents a technically high-resolution download becoming an unexpectedly oversized, soft print.
The three calculations you need
Printed inches = pixels ÷ target PPI
Required pixels = printed inches × target PPI
Effective PPI = pixels ÷ actual printed inches
For centimeters, first divide by 2.54 to convert to inches. A 10-centimeter-wide illustration at 300 PPI needs about 1182 pixels across: 10 ÷ 2.54 × 300, rounded up to a whole pixel. Calculate width and height separately, because both dimensions must work. A wide landscape image does not automatically fit a tall portrait space just because its longer side contains enough pixels.
PPI describes image pixels per printed inch. DPI usually describes printer dots per inch, although software and listings sometimes use the terms loosely. A printer may place several ink dots to reproduce one image pixel. Do not compare its advertised DPI directly with the PNG’s pixel count.
Quick reference for a 300-PPI starting target
| Printed size | Image dimensions |
|---|---|
| 2 × 3 inches | 600 × 900 pixels |
| 4 × 6 inches | 1200 × 1800 pixels |
| 5 × 7 inches | 1500 × 2100 pixels |
| 8 × 10 inches | 2400 × 3000 pixels |
These are image-area calculations, not complete printing templates. They do not include bleed, a cut margin, a mug wrap or a garment provider’s safe area. If a printer requires bleed, add the specified amount to the document dimensions before calculating export pixels.
Do not forget the artwork inside the canvas
A 3000-pixel PNG can contain a small illustration surrounded by a large transparent margin. Its full canvas dimensions may therefore overstate the detail available in the visible artwork.
Imagine a 3000-pixel-wide canvas with a character occupying only 1500 pixels across. If you crop away the margin and print the character 5 inches wide, that character has about 300 effective PPI, not 600. Measure the useful artwork bounds when the transparent padding is substantial.
This also explains why two files with identical canvas sizes can look different when enlarged. One may use most of the canvas; the other may contain a small subject or an image that was already upscaled.
Match shape before resizing
Keep the aspect ratio locked while scaling. Stretching a square illustration into a long rectangle distorts it even if the pixel count remains high.
For a 4 × 6-inch photo-style space, choose between fitting the complete image with empty space or cropping some of it to fill the shape. Decide intentionally. Do not let an automatic crop remove a character’s head or an important border.
When assembling several PNGs, create the final document at the correct size first. Then place the images at their intended dimensions. Exporting a small finished composition and enlarging the entire result later can soften both clipart and text.
What changing the resolution field actually does
Some editors let you change the resolution value without resampling. That changes the default printed size interpretation but leaves the pixel count unchanged. With resampling enabled, the editor creates or removes pixels. Added pixels may smooth an enlargement, but they do not restore original detail that was never captured.
Inspect the exported file’s actual pixel dimensions, not just the export dialog. Then print using the intended page size and scaling settings. A printer’s “fit” option can change the physical size again.
A reliable finishing check
Write down the source pixels, intended inches and effective PPI for your main illustration. Compare the result with the production specification. Print one proof containing fine edges and small text before making a batch.
Your next step
Write the useful pixel width and planned inches beside your selected image before designing the next piece. That small note makes later resizing a decision you can calculate.
Start with Autumn Woodland Deer Acorn Library, or choose Dinosaur Birthday Adventure for the alternative theme described above. These collections supply PNG illustrations for your own layout; the project text and construction remain yours.
For commercial or shared deliverables, check the current artwork licence for the intended use.