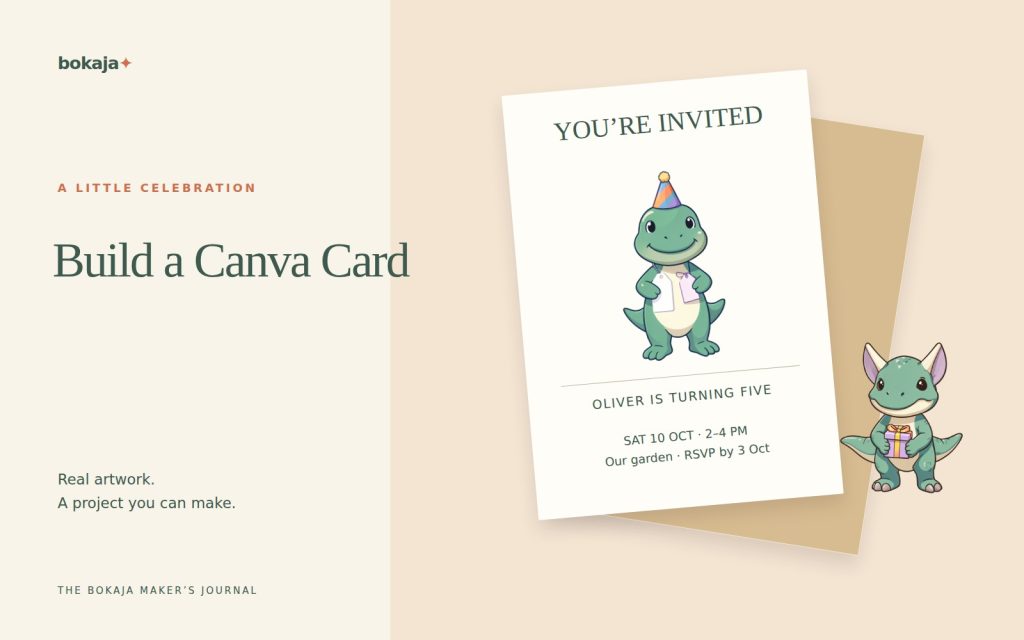
To use a PNG in Canva, upload the actual image file, place it in a document with the right dimensions, and export for the way the project will be produced. The important decisions are page size, artwork scale and output format—not how many decorative elements you can fit onto the page.
Choose Dinosaur Birthday Adventure for the main invitation, or Puppy Birthday Bakery for a second theme. Both are paid PNG artwork collections for layouts you design yourself; add your own text, shapes and measurements.
Make it with these Bokaja sets
Choose the style that fits your project. These are digital PNG artwork collections: add your own text and build the layout shown in this guide.

Dinosaur Birthday Adventure
Dinosaur birthday artwork for the main invitation.
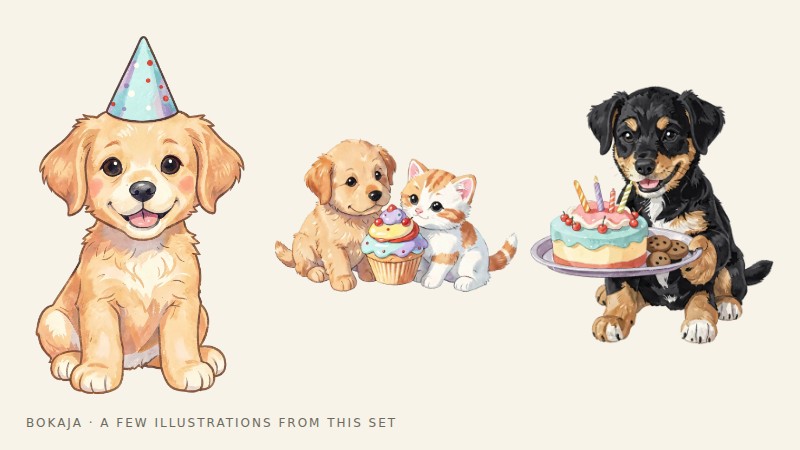
Puppy Birthday Bakery
Puppy birthday artwork for a second theme.
Worked example: a measured 5 × 7-inch birthday invitation
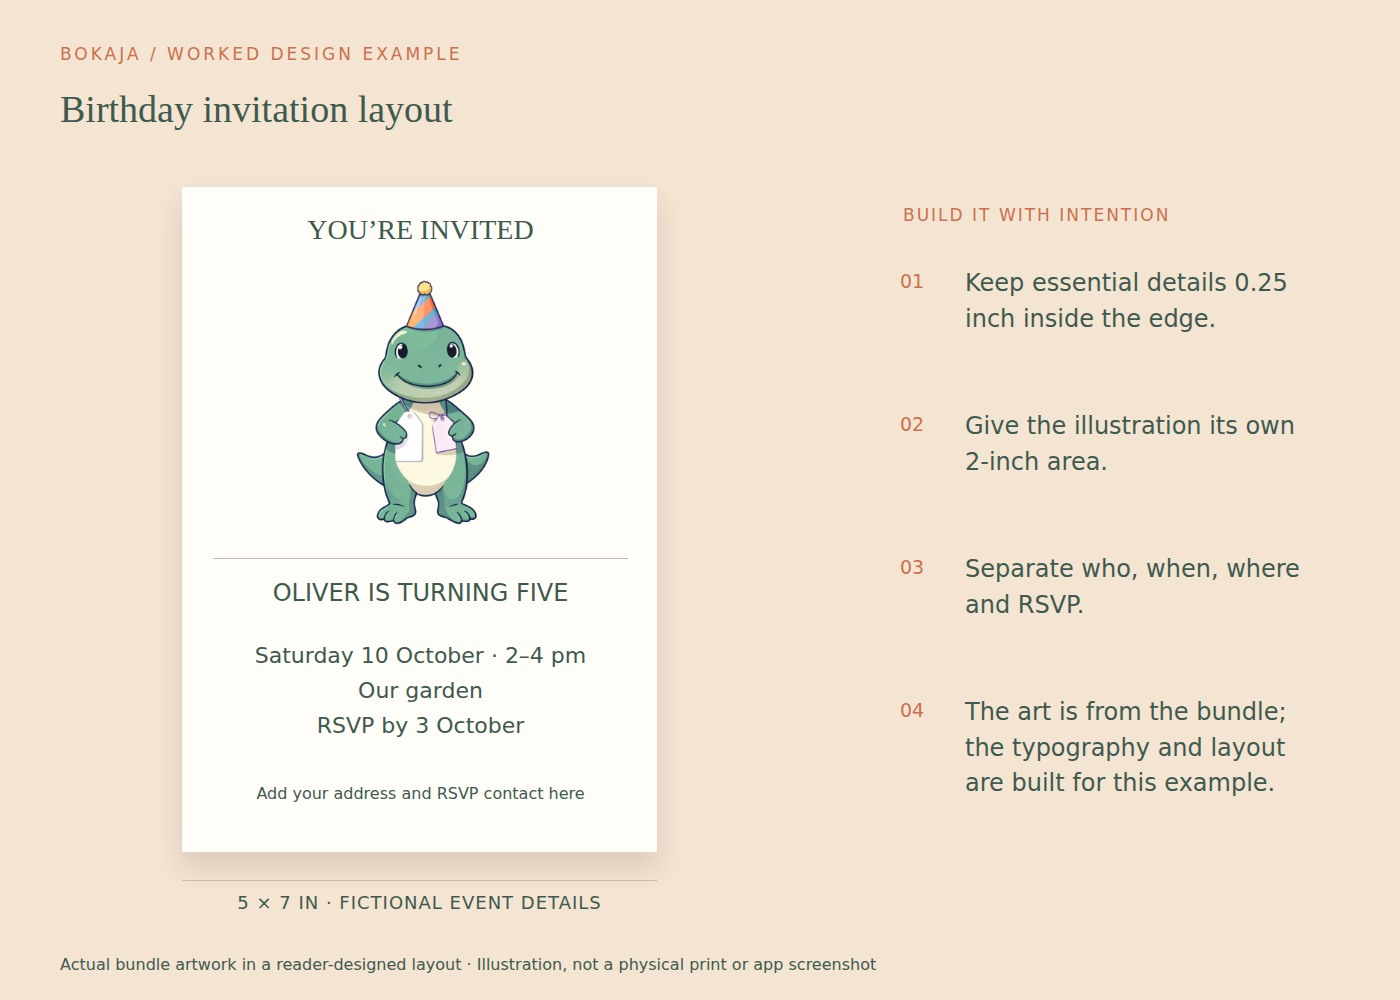
Use the dinosaur collection above for this version, or swap in puppy birthday artwork without changing the information structure. The PNG supplies the illustration; you create every word, line and layout element in Canva.
- Create a custom-size 5 × 7-inch design. Choose portrait orientation and add guides 0.25 inch inside every edge. This leaves a 4.5 × 6.5-inch working area for important content.
- Add a short event heading in the top inch. Start around 28–34 points for a short title, then adjust to the actual typeface and wording.
- Place one PNG in an approximately 2-inch-wide illustration zone below the heading. Lock its proportions. Do not drag it wider to fill a rectangular gap.
- Put the date and time together in a separate text box, then the venue and RSVP beneath them. Start ordinary event details around 14–16 points and check the printed result.
- Keep the final 0.75 inch inside the safe area available for practical notes. If the address needs more room, reduce decoration before reducing the type.
For a fictional draft, use “Milo’s Dinosaur Party,” “Saturday • 2–4 pm,” “Garden Room” and “RSVP by Friday.” These are layout examples, not complete event information. Replace them with the actual date, address and contact details before sending anything.
If the print provider requests 0.125-inch bleed on every side, the supplied artwork area may need to extend to 5.25 × 7.25 inches; follow that provider’s template and Canva’s available export controls. Bleed is outside the finished trim, not a reason to move the address closer to the edge.
Export for your printing route, reopen the file and check the page dimensions. For a raster version without bleed at 300 PPI, expect 1500 × 2100 pixels. Print one card at actual size and verify both the invitation and envelope fit before duplicating a whole sheet.
Upload the source PNG
Use Canva’s upload function to add the downloaded image, then place it on the page. Interface labels can vary by device and version, but the basic distinction remains: upload a source asset rather than copying a preview from a web page.
Set the page temporarily to a contrasting color. If an unexpected white rectangle surrounds the artwork, check the original file’s transparency before continuing. Restore the intended page color before creating the final print export.
Establish a simple hierarchy
Place the most important text first. On an information card, the event name should be easier to find than a decorative subtitle. Give the date and location a clear second level, then reserve a smaller but readable area for the contact detail.
Add one main illustration after the information fits. Place it beside or above the text rather than behind essential words. A restrained border or small accent may be enough to connect the artwork with the page.
Limit the number of font styles. Two useful roles—a heading style and a straightforward body style—usually provide enough variation. Test the smallest text at the final printed size instead of judging it on a large monitor.
Resize without stretching or losing detail
Keep the PNG’s proportions locked while scaling. If the subject is too tall for the available area, change the layout or crop intentionally; do not squeeze it until it fits.
Check the source pixel dimensions against the printed size of the illustration. An image 1200 pixels wide placed at 4 inches has 300 effective PPI. Enlarging it to 8 inches reduces that to 150 PPI. The PNG size guide explains how to calculate your own example.
Leave generous space near trim edges. If a print provider specifies a safe area and bleed, follow its template rather than inventing universal margins.
Choose the export for the job
For an ordinary printed page, a print-oriented PDF is often the appropriate handoff, subject to your printer’s instructions. For a transparent image composition that will be placed into another application, PNG may be appropriate.
Transparent-background export is a separate feature from uploading a transparent PNG, and its availability can depend on your Canva account and plan. Do not assume every account can export a transparent page. If the project is a white paper card, a transparent page may not be necessary at all.
For Print Then Cut, preserve the intended artwork and boundary, then finish the machine-specific setup in Design Space. Do not treat a ready-to-print PDF as automatically equivalent to a Cricut cut project. The Canva versus Cricut guide explains that division of work.
Proof the exported file, not only the design
Open the export outside Canva. Check that all text is present, images are sharp enough, and the page dimensions are correct. Print one copy using the intended scaling settings, then measure it with a ruler.
Read names, dates and contact details aloud. Check the card under ordinary room lighting and trim the proof if trimming is part of the final process. Save the editable document and final export separately.
Before selling a finished product, review the current Bokaja licence. Permission to use artwork in some physical goods does not automatically permit sharing the source PNGs or selling an editable template containing them.
Your next step
Save the invitation as an editable master with the event fields grouped separately from the PNG. The next theme change should not require rebuilding the date, address and RSVP hierarchy.
Start with Dinosaur Birthday Adventure, or choose Puppy Birthday Bakery for the alternative theme described above. These collections supply PNG illustrations for your own layout; the project text and construction remain yours.