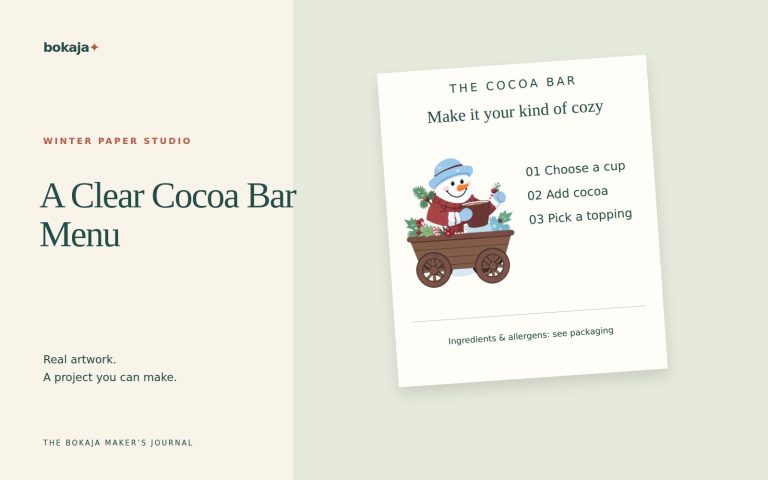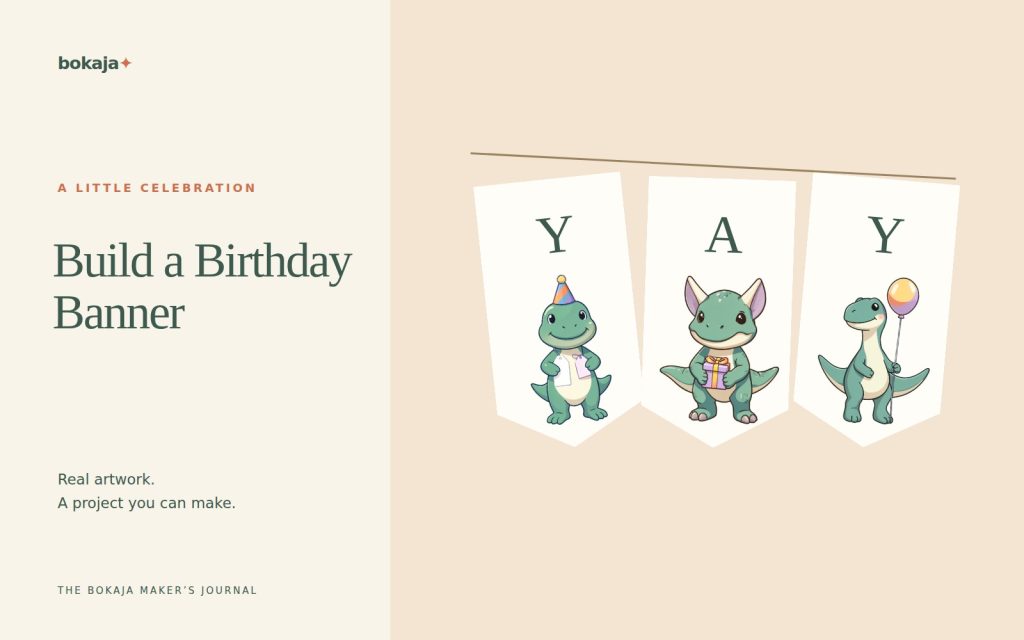
A printable birthday banner needs a readable message, a planned total length and panels that can be hung securely in the intended location. Start by measuring the display space. The individual letters may look excellent while the completed banner is too long for the wall.
Choose Dinosaur Birthday Adventure for pennant accents, or Puppy Birthday Bakery for an alternative banner theme. Both are paid PNG artwork collections for layouts you design yourself; add your own text, shapes and measurements.
Make it with these Bokaja sets
Choose the style that fits your project. These are digital PNG artwork collections: add your own text and build the layout shown in this guide.

Dinosaur Birthday Adventure
Dinosaur birthday artwork for pennant accents.
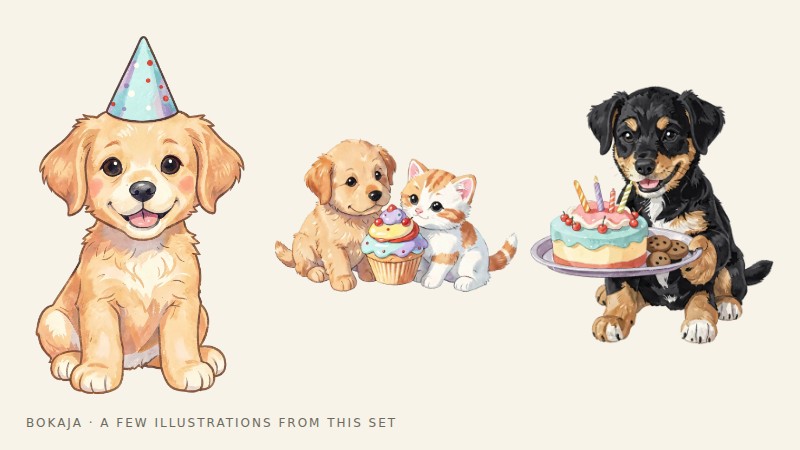
Puppy Birthday Bakery
Puppy birthday artwork for an alternative banner theme.
Worked example: size a thirteen-letter birthday banner
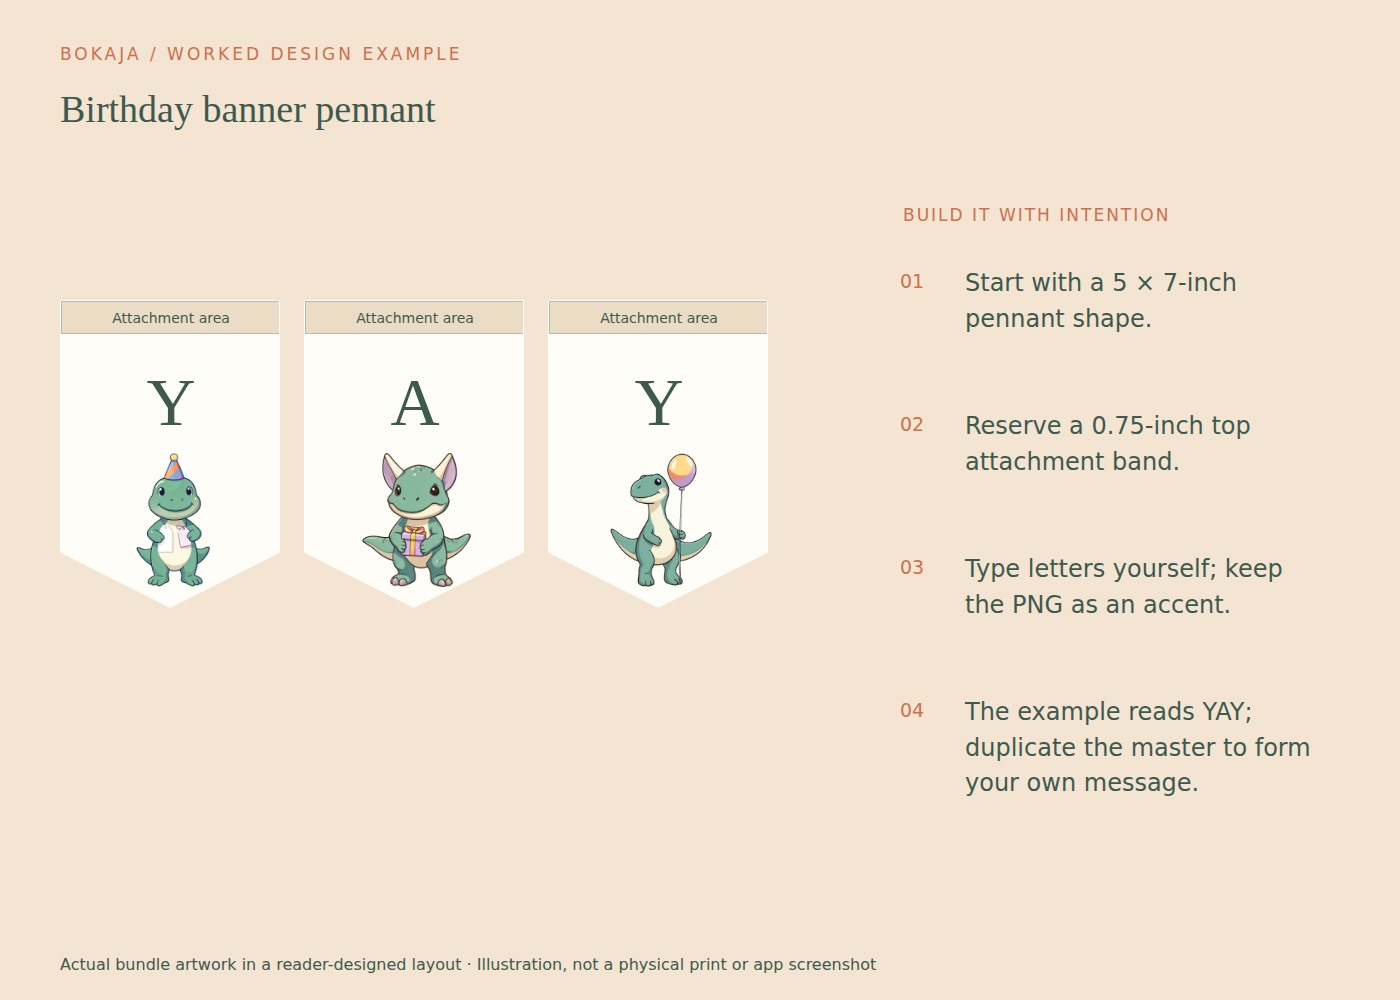
“HAPPY BIRTHDAY” uses 13 letter panels, excluding the space between words. For the featured version, create your own 5 × 7-inch pennant shape and type one letter on each. Add a small dinosaur-birthday PNG as an accent; the collection does not supply the banner letters or pennant template.
With 5-inch-wide panels and twelve 0.5-inch gaps, the straight panel run is 71 inches: 13 × 5 + 12 × 0.5. Add extra cord at both ends for attachment and any desired drape. If you need a larger break between words, include that extra gap in the measurement too.
A 60-inch wall space cannot hold this 71-inch run as planned. You could use two lines, reduce the panel width, or shorten the message. For comparison, thirteen 4-inch panels with the same half-inch gaps use 58 inches before end attachments. Measure the actual display area before deciding which compromise looks best.
On each 5 × 7-inch panel, reserve the upper 0.75 inch for attachment and keep the letter clear of any pointed lower trim. Try the widest letters first, particularly the W if your chosen message includes one. Do not set the entire alphabet from a narrow I and discover that other letters no longer fit.
Print a single panel and view it from across the room. If the letter is hard to read, enlarge it and reduce the art accent. Once the master works, duplicate it, change the letters and lay out the complete message on a table before threading.
Mark the panel order discreetly on the reverse. Save the message, panel width, gap and cord allowance together; these measurements are what make the next banner predictable.
Count the message before designing
Write the exact wording and count its panels. Decide whether spaces will be represented by gaps, blank panels or a second line. “Happy Birthday” has thirteen letters, so even modest panels can create a surprisingly long decoration.
Check a personalized name carefully, including any accents or punctuation. If the message is long, consider a two-line arrangement rather than shrinking every panel until the letters lose impact.
Use a paper list of the panel order during production. It is easy to cut an attractive stack of letters and discover a missing duplicate when you begin hanging them.
Make one panel that reads from across the room
Choose a simple shape such as a rectangle, pennant or shield. Place the letter on a calm background with strong contrast. Leave room at the top for holes, a fold-over channel or another planned attachment method.
A small piece of birthday clipart can sit below or beside the letter. Avoid letting the image interrupt the letter’s silhouette. The message should remain readable when you step back.
Test the awkward letters and longest name
Proof a wide letter such as W or M and a narrow one such as I. Their visual spacing may need adjustment even when the panels are identical.
If you add a name line, test the full name as a group. A two-line banner should have intentional spacing between rows rather than whatever distance is left after the first line is hung.
Print one panel at the real size and view it in the actual room. Screen zoom can make small lettering seem more effective than it will be on a wall.
Arrange sheets for practical production
Place panels inside the printer’s supported area. Depending on their dimensions, one or two may fit on a sheet with suitable trim space. Keep the orientation consistent unless rotating a panel genuinely saves paper without creating confusing assembly.
Choose paper or card compatible with the printer. If the banner will hang for several days, consider the effect of weight and humidity on the chosen stock.
Print at the intended scale and measure a panel. Cut the prototype with the same tool you will use for the full set, then check whether the shape and attachment area remain strong enough.
Assemble in order on a flat surface
Lay out the complete message before threading or fastening anything. Mark the reverse lightly with the panel position if that helps. Space the panels consistently and leave enough cord at the ends for the chosen installation.
Use attachment methods suitable for the surface and follow their load and removal instructions. Keep cords away from places where they could create an entanglement hazard, especially around young children. Do not hang paper decorations near heat or open flames.
If the display is outdoors, ordinary printed paper is not automatically weather-resistant. Choose an appropriate setup or keep the banner indoors.
Save a reusable construction recipe
Record the panel dimensions, gap, paper and attachment method. Keep the editable letter master and individual artwork sources separate from the final sheets.
For a coordinated but manageable celebration, use the birthday budget guide to decide which additional pieces are actually worth making. A clear, well-sized banner can carry the theme without requiring a matching decoration for every surface.
Your next step
Save the message, panel dimensions and spacing as one recipe. Measure the next display location before reusing the banner size, especially if you add a longer name.
Start with Dinosaur Birthday Adventure, or choose Puppy Birthday Bakery for the alternative theme described above. These collections supply PNG illustrations for your own layout; the project text and construction remain yours.
For commercial or shared deliverables, check the current artwork licence for the intended use.