Halloween treat bag labels should fit the actual package, carry a readable message and leave food information visible. Start with the sealed bag or box you will use, then decide whether the decoration is a sticker, a hanging tag or a folded topper.
Choose Little Monster Trick-or-Treat Parade for treat-bag labels, or Cute Halloween Black Cat Pumpkin Bookshop for bookish Halloween gifts. Both are paid PNG artwork collections for layouts you design yourself; add your own text, shapes and measurements.
Make it with these Bokaja sets
Choose the style that fits your project. These are digital PNG artwork collections: add your own text and build the layout shown in this guide.
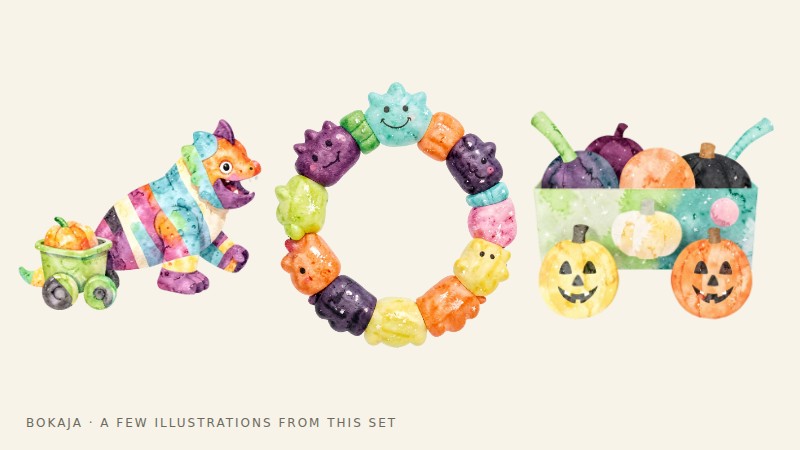
Little Monster Trick-or-Treat Parade
Monster parade artwork for treat-bag labels.
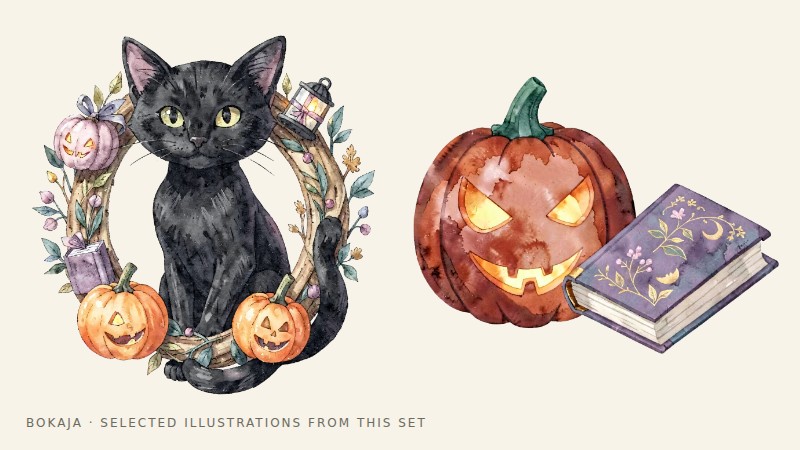
Cute Halloween Black Cat Pumpkin Bookshop
Black-cat bookshop artwork for bookish Halloween gifts.
Worked example: a 3 × 2-inch label for a flat bag front
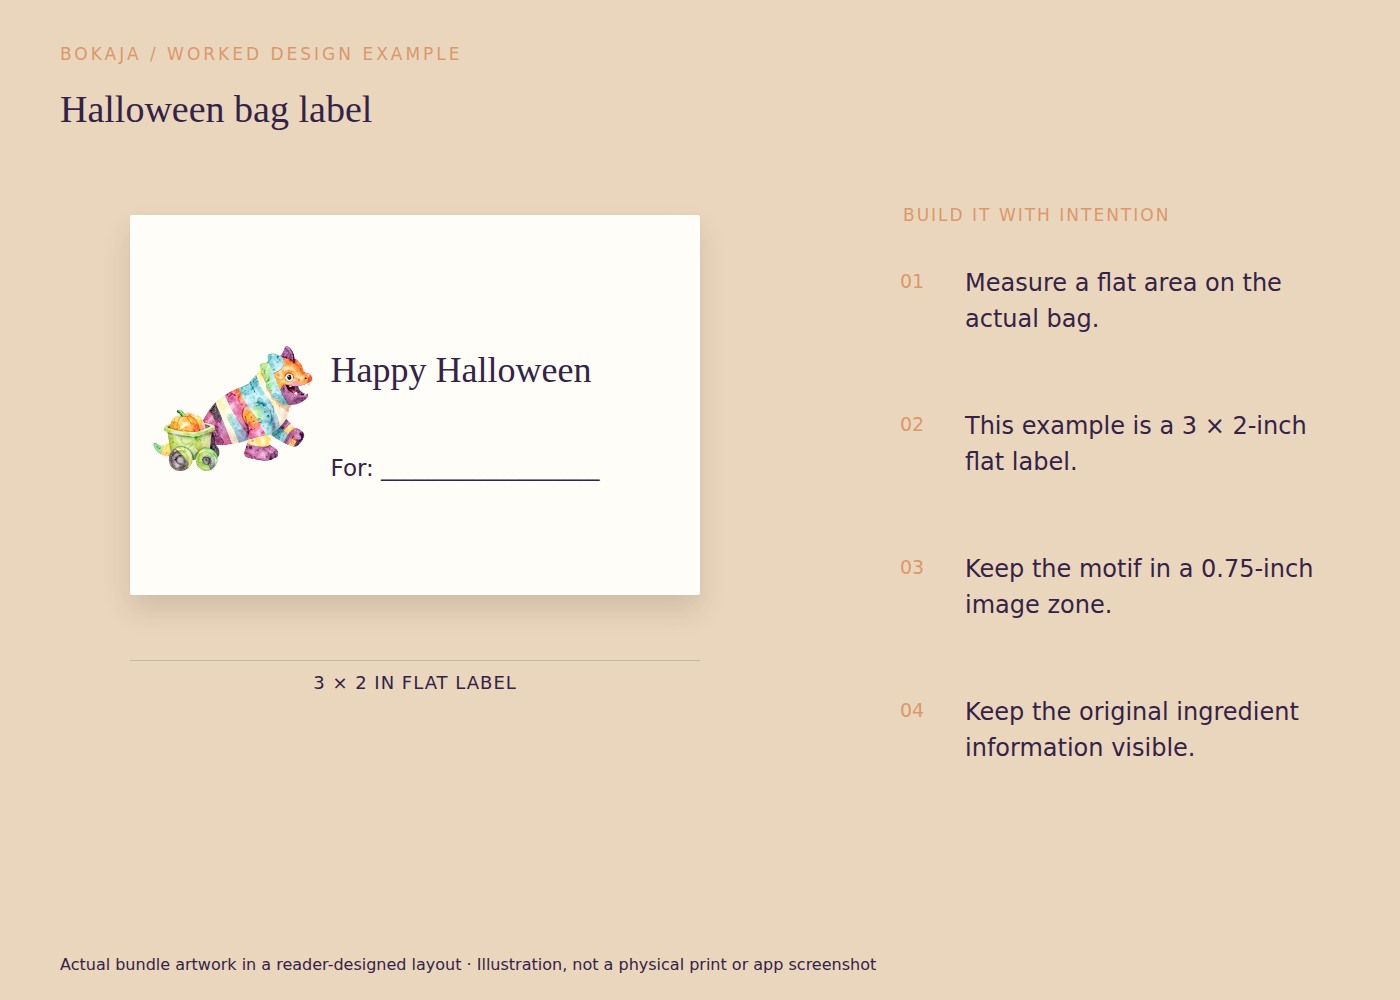
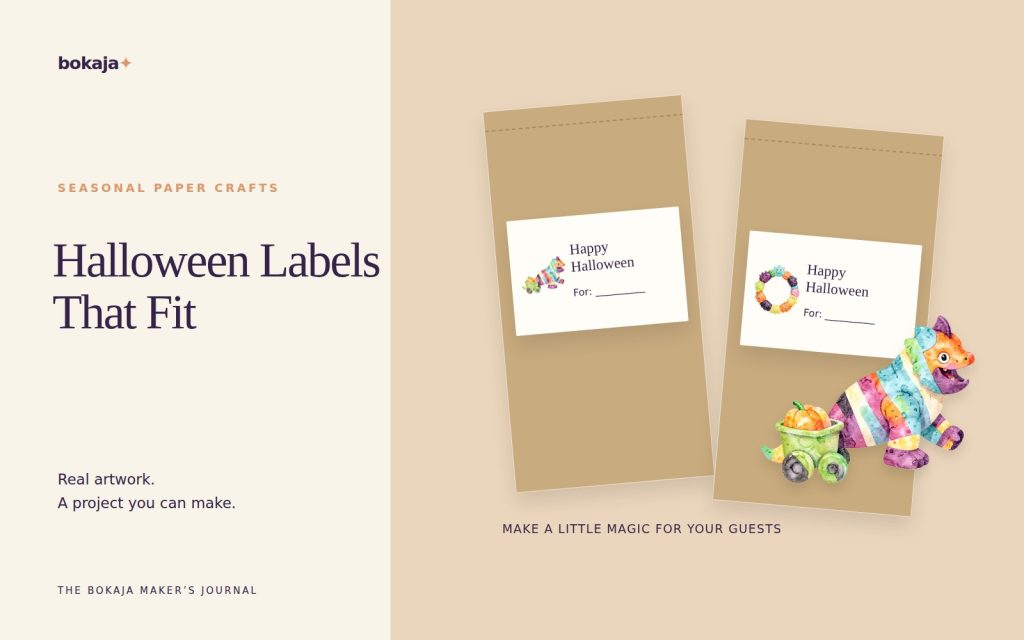
Measure a flat, unobstructed area on the actual bag. For this version, use a 3-inch-wide × 2-inch-high label, not a folded topper. Place a small monster-parade PNG on the left and your own recipient or thank-you text on the right.
Keep a 0.15-inch inside margin around the label, leaving a 2.7 × 1.7-inch content area. Allocate 0.75 inch of width to the image, a 0.15-inch gap and 1.8 inches to text. Those widths total 2.7 inches. Start with a short message such as “A little Halloween treat” and add a name only if it remains comfortably readable.
Print a plain-paper rectangle and hold it against a filled bag, not only an empty one. A bag that bulges may crease a wide adhesive label. Move to a hanging tag if there is no stable flat surface, or reduce the label width without squeezing the text.
For a folded topper with a 3 × 2-inch front and an equal back, you would instead need a 3 × 4-inch flat design before any other construction allowance. The flat-label artwork cannot simply be printed twice and assumed to fold correctly; make a paper dummy with the fold and text orientation marked.
Apply one finished adhesive label and leave it in the expected conditions before making the batch. Check whether the edge lifts on the bag material. Use packaging-appropriate materials and keep the label clear of required food information.
For a bookish gift instead of a treat bag, swap to the black-cat bookshop collection and rewrite the message. Keep the measured label structure, but recheck the package surface and the amount of space available.
Choose the label format first
For a flat-front bag, a small rectangular sticker may be convenient. For a handled bag, a tag may be easier to remove and less likely to wrinkle. For a folded paper topper, measure the bag width and plan both the front and back panels.
Make a plain-paper version before designing. Fold or attach it to the actual package and check how it behaves when the bag contains the intended items.
Do not use the decorative label as the only means of keeping food safely packaged unless the packaging system is designed for that purpose.
Write the message and any practical information
A short “Happy Halloween” or “Thank you for joining us” can be enough for the decorative face. Add a recipient’s name only when personalization helps the event.
Keep a plain food description available where needed. A spooky nickname does not tell someone whether a treat contains nuts, milk or another ingredient. Use the actual product packaging or recipe information, and follow the requirements relevant to how the food is supplied.
Do not make allergy-free or other food-safety claims from appearance or a generic template. If you do not know an ingredient detail, do not guess.
Choose artwork that stays clear at label size
One main character or object is usually sufficient. A small silhouette and a short message can be more effective than a full scene reduced onto a bag.
Keep dark artwork from swallowing the text, and test pale details on the paper or package color. If you want a white border around a PNG, create it deliberately rather than retaining an accidental white rectangle.
Select materials for the package
Use printer-compatible label stock if making stickers. Check whether the adhesive suits the package surface and whether it needs to be removable. A glossy or flexible bag may behave differently from plain paper.
Keep ordinary printed paper, ink and adhesive away from direct food contact unless those exact materials are suitable for it. Follow the instructions for any fasteners and avoid exposed sharp parts or small loose decorations in contexts where they are inappropriate.
If the treats will be chilled or carried outdoors, test how condensation or humidity affects the label. Do not infer moisture resistance from a shiny finish.
Print one complete proof
Print at the intended scale, cut or fold the label, and attach it to a filled sample package. Read the message from a normal handling distance. Check that the package can still open properly and that the label does not hide essential information.
For personalized batches, proof the longest name. For a cutting-machine route, inspect the actual cut preview and use the current supported workflow rather than treating the printed PDF as a ready cut file.
Make adjustments to the master, then print the batch in a clear order. Keep uncut sheets, completed labels and packed favors separate to reduce mix-ups.
Keep the wider party plan small
A matching welcome sign may be useful, but the label does not require an entire new decoration collection. The Halloween party checklist helps prioritize the pieces that serve guests.
Before selling finished favors or sharing digital label sheets, review the current artwork licence. The final check is practical: the package remains appropriate for its contents, the information is clear, and the decoration does not get in the way.
Your next step
Keep one applied label as a fit reference and record the bag size. Change the construction when the packaging changes rather than forcing an old label onto a new surface.
Start with Little Monster Trick-or-Treat Parade, or choose Cute Halloween Black Cat Pumpkin Bookshop for the alternative theme described above. These collections supply PNG illustrations for your own layout; the project text and construction remain yours.