A cupcake topper is a lightweight decoration attached to a suitable support. Plan the paper shape and attachment so the printed artwork stays separate from the food, then make one real example before producing a tray’s worth.
Choose Dinosaur Birthday Adventure for a party topper, or Puppy Birthday Bakery for a bakery-themed topper. Both are paid PNG artwork collections for layouts you design yourself; add your own text, shapes and measurements.
Make it with these Bokaja sets
Choose the style that fits your project. These are digital PNG artwork collections: add your own text and build the layout shown in this guide.

Dinosaur Birthday Adventure
Dinosaur birthday artwork for a party topper.
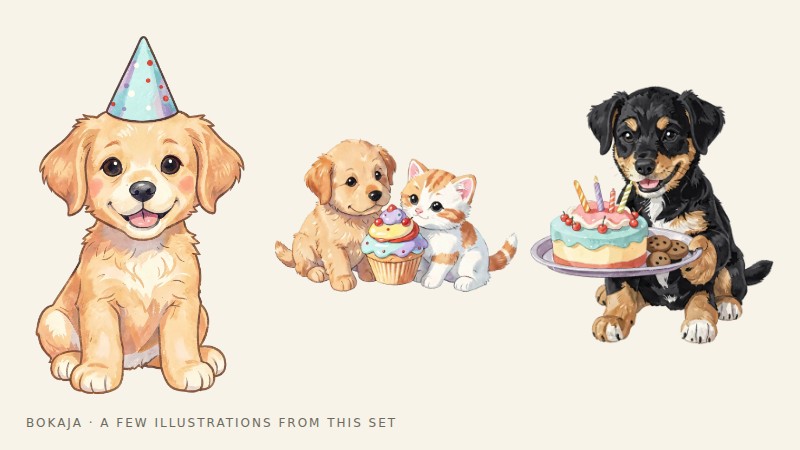
Puppy Birthday Bakery
Puppy birthday artwork for a bakery-themed topper.
Worked example: a 2-inch round dinosaur topper

Build a 2-inch-diameter paper topper with one dinosaur-birthday PNG. Keep the visible artwork inside a 1.6-inch zone so there is roughly 0.2 inch of breathing room on either side at its widest point. A 300-PPI raster canvas for the complete topper is 600 × 600 pixels.
- Draw the 2-inch backing circle and place the PNG above it.
- Fit the entire illustration without stretching. Check its height as well as width; the 1.6-inch zone is a limit, not a requirement to fill every edge.
- Add only a short name or number if it remains legible. Type that content yourself; the PNG collection is artwork, not a ready-made number template.
- Make a reverse backing if you need to conceal the attachment. Do not assume a mirrored front makes a suitable back, especially if it contains text.
- Cut and assemble one complete topper using a support suitable for the intended food presentation. Keep printed paper and ordinary craft adhesive away from direct food contact.
For a hand-cut sheet, three columns of 2-inch circles with 0.25-inch gaps occupy 6.5 inches. Four rows occupy 8.75 inches. That is twelve toppers inside the grid, subject to the printer’s usable area. For a machine-cut sheet, use the software’s supported Print Then Cut area instead.
Try the assembled prototype in the intended display arrangement. If the paper rotates, droops or makes the support unstable, reduce the topper size or change the construction before producing twelve copies. Do not compensate for a weak join by adding more layers indiscriminately; extra weight can make the problem worse.
Keep the finished count, backing count and support count separate. Twelve front circles do not equal twelve completed toppers until the assembly materials are ready.
Start with the cupcake and display
Measure the approximate cupcake width and consider how the toppers will look together. A 2-inch circular paper face is a useful prototype for an ordinary cupcake, but frosting height, tray spacing and the display style can change that choice.
Cut the shape from plain paper and hold it above the cupcake position without contacting the food. Check whether it looks oversized or hides the decoration beneath it.
Avoid making the topper so heavy or tall that it leans noticeably. A small, clear shape is often more effective than a large complex silhouette.
Decide whether both sides need printing
A single-sided topper is simpler and may be enough when all cupcakes face the guests. For a display viewed from several sides, use a coordinated reverse or a second printed face.
Do not simply mirror a design containing text; that reverses the wording. Make a separate readable reverse layout if words are included.
Create a paper dummy showing the support position and the overlap between front and back. This helps you avoid a visible stick covering the main image or an attachment area with too little contact.
Keep craft materials away from food contact
Use supports intended for the relevant food-decoration purpose and follow their instructions. Keep printed paper, ordinary glue and decorative coatings out of direct contact with food unless those exact materials are suitable for that use.
Do not describe an ordinary home-printed topper as edible. Remove decorations before eating and make sure guests or supervising adults understand that the support and paper are not food.
For young children, consider whether the decoration is appropriate at all and manage small parts and pointed supports carefully. A table sign or cake-side decoration may be a better option in some settings.
Lay out the print sheet
Create the topper at its finished size and duplicate it across the paper, leaving enough space for the chosen cutting method. If cutting circles by punch, check the punch’s actual diameter and how far it can reach from the paper edge.
For hand cutting, simple shapes reduce production time. For Print Then Cut, use the current supported machine workflow and inspect the intended outer contour. A compatible printer prints the artwork; the cutting machine performs the cut.
Export at the proper dimensions and print one proof. Measure it rather than assuming the application’s preview guarantees scale.
Assemble one complete prototype
Cut, attach and finish a single topper using the real materials. Let any adhesive cure as directed before handling. Check the front, reverse and edge for gaps or loose pieces.
Place the support appropriately in a test display and assess balance. The paper should remain clear of frosting or other food. If the topper twists or sags, reduce its size, change the construction or select a more suitable support.
Do not treat a digital mockup as proof of physical stability. The assembly test is what reveals the practical problems.
Produce a small organized batch
Separate printing, cutting and assembly into stages. Count the required toppers and a few spares, but avoid making a large quantity before the prototype works.
Store finished pieces flat or upright in a way that protects the paper and keeps them clean before use. Record the dimensions and materials with the editable file so replacements match.
The dinosaur party guide can help coordinate the wider event. Before selling finished toppers, read the current artwork licence and check the requirements relevant to your materials and product claims.
Your next step
Keep one assembled prototype as the production reference. Count fronts, backs and supports separately so the printed sheet becomes a complete, stable set of toppers.
Start with Dinosaur Birthday Adventure, or choose Puppy Birthday Bakery for the alternative theme described above. These collections supply PNG illustrations for your own layout; the project text and construction remain yours.