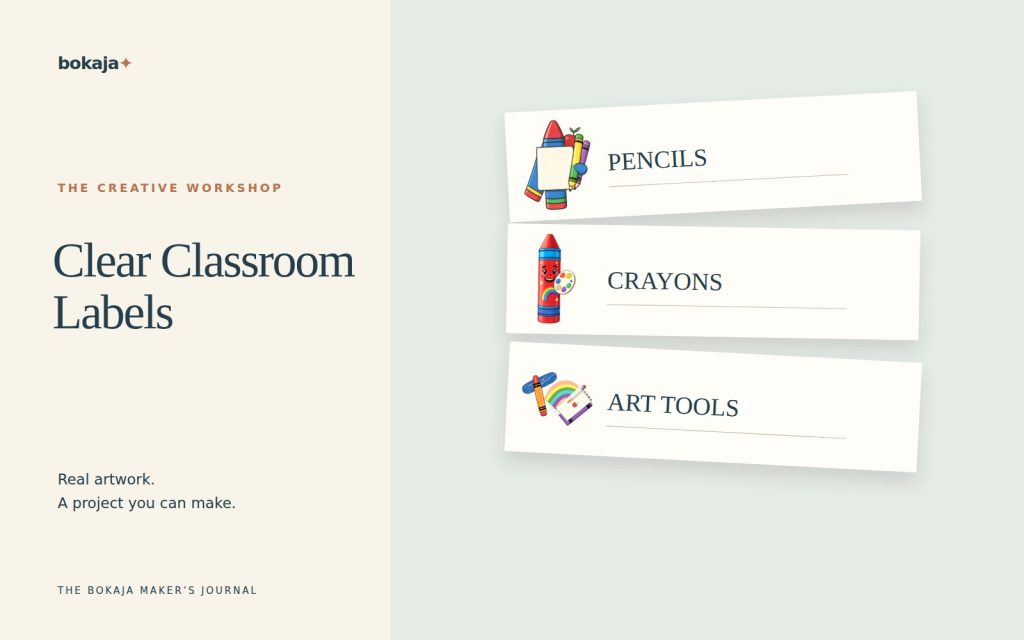
Good classroom labels answer a practical question quickly: what belongs here? Start with the container and the words children actually use, then add a clear picture. Decorative clipart should support that answer rather than compete with it.
Choose Rainbow Crayon Art Studio for an art shelf theme, or Storybook Pencil & Book Club for a reading shelf theme. Both are paid PNG artwork collections for layouts you design yourself; add your own text, shapes and measurements.
Make it with these Bokaja sets
Choose the style that fits your project. These are digital PNG artwork collections: add your own text and build the layout shown in this guide.
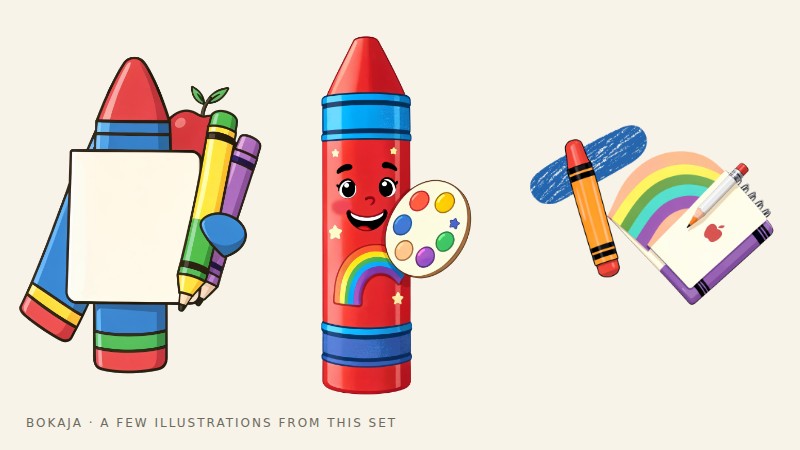
Rainbow Crayon Art Studio
Art-studio artwork for an art shelf theme.

Storybook Pencil & Book Club
Book-club artwork for a reading shelf theme.
Worked example: a 3 × 1.5-inch art-shelf label
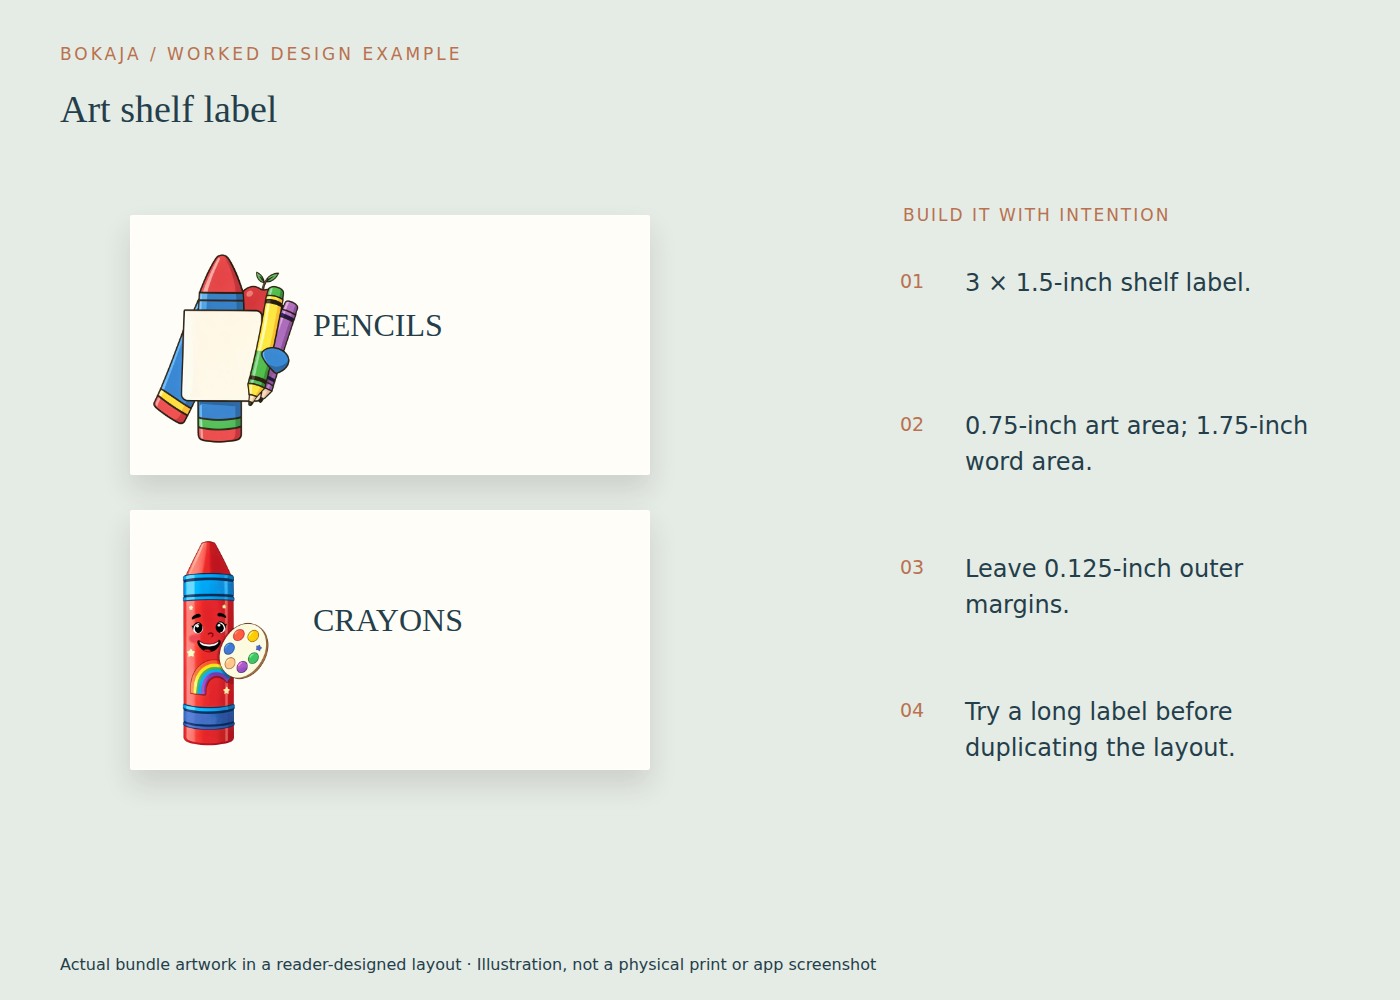
Build one label for an art shelf before duplicating a classroom set. Use the art-studio PNG as a theme marker, and use your own wording to identify the actual contents. If the illustration does not clearly depict those contents, keep it decorative and add a photograph where identification matters.
- Create a 3 × 1.5-inch document. At 300 PPI, a raster export is 900 × 450 pixels.
- Keep important content 0.125 inch inside the edges. The resulting interior is 2.75 × 1.25 inches.
- Reserve 0.75 inch of width for artwork on the left, a 0.25-inch gap, and 1.75 inches for the word area. Those widths total the 2.75-inch interior exactly.
- Type a real category such as “Art tools.” Start with a plain bold face around 22–26 points, then check the actual word length and shelf distance.
- Duplicate the label and try the longest category name before creating all the others.
If “Colored pencils” does not fit comfortably, a two-line label with consistent line spacing may work better than reducing it to tiny type. Keep the picture box fixed across the set so the wording does not jump around from bin to bin.
For a batch on Letter paper, two columns of 3-inch labels with a 0.25-inch gap occupy 6.25 inches. Five rows of 1.5-inch labels with four 0.25-inch gaps occupy 8.5 inches. That gives ten labels inside a manageable grid; confirm your printer margins before positioning it.
Print the longest and shortest labels together. Put them on the real shelf and check them from the normal approach direction. A label that passes a close-up screen check but disappears under a handle needs a layout change, not a more decorative image.
Measure the place where the label will live
Measure the usable flat area on the bin, drawer or shelf. Account for handles, curved surfaces and any holder or sleeve. A label that fits a photograph of a storage box may not fit your actual box.
For a small-bin example, try a 3 × 1.5-inch label on plain paper first. This is a starting prototype, not a universal classroom size. Tape it temporarily in place and check whether the label is visible from the normal approach direction.
Decide how it will be attached before final printing. A removable sleeve, suitable adhesive or laminated card each needs a different construction method. Follow the material instructions and school rules for surfaces and classroom use.
Agree on the vocabulary
Choose the name children and adults will consistently use. “Pencils” is usually more direct than “Writing Wonder Tools.” If two containers have similar contents, name the distinction: “Colored pencils” and “Writing pencils.”
Where more than one language is useful, give each label a predictable structure. Do not squeeze a second language into an unreadably small line. Ask someone fluent to check the wording rather than relying on a decorative translation.
For younger readers, combine words with a relevant picture. For a particular class, real photographs of the actual contents may be clearer than stylized illustrations. Clipart is an option, not a requirement for every learner or every object.
Duplicate the system, not the clutter
Once one label works, duplicate it and change the content. Keep the text position, border treatment and image scale consistent. If a long word does not fit, adjust the wording or template thoughtfully rather than shrinking only that label to tiny text.
Color can support categories, but do not rely on color alone. A word and picture should still distinguish the contents when printed in grayscale or viewed by someone who cannot easily distinguish the chosen colors.
Keep decorative themes secondary. Seasonal artwork may be enjoyable, but a permanent storage label should remain understandable after the holiday has passed.
Make a shelf-level proof
Print a few different labels, including the longest word and the palest image. Put them on the actual containers at their intended height. Read them from the distance at which someone will choose a bin.
Check whether glare from lamination or a plastic sleeve obscures the text. If a label is technically readable when held in your hand but not on the shelf, increase clarity before printing the full set.
Invite a small, appropriate classroom check: can a child find the named container and explain what belongs inside? Treat that as feedback on the label, not a formal assessment of the child.
Print and replace efficiently
Arrange the approved labels on the intended paper size. Print at the correct scale and measure one before cutting the batch. Keep a spare sheet and an editable master with the label dimensions recorded.
Maintain a simple list of container names. When contents change, update the wording and picture together. An attractive but outdated label can make a storage system harder to use.
For general layout steps, see the Canva PNG workflow. Before sharing source files or selling resources, check the current licence; classroom use does not automatically permit redistributing the original PNGs or an editable digital template.
Your next step
Save a label master and the agreed container names. When a bin changes, update the name and image together so the storage system stays accurate.
Start with Rainbow Crayon Art Studio, or choose Storybook Pencil & Book Club for the alternative theme described above. These collections supply PNG illustrations for your own layout; the project text and construction remain yours.