The best PNG size for print-on-demand is 4500 × 5400 pixels at 300 DPI for standard t-shirts. Mugs need 2700 × 1200 px at 300 DPI, posters need 6000 × 9000 px at 300 DPI, and stickers need at least 1500 × 1500 px at 300 DPI. Every POD file should use transparent PNG format so the background does not print.
This guide lists the exact file dimensions, DPI, and transparent-background requirements for every major print-on-demand product in 2026 — t-shirts, hoodies, mugs, posters, stickers, phone cases, and tote bags — with a printable cheat sheet and a pre-flight checklist.

Quick Answer: PNG Size and DPI by Product
| Product | Recommended Size (px) | DPI | Format | Transparent Background |
|---|---|---|---|---|
| T-shirt (standard) | 4500 × 5400 | 300 | PNG | Yes |
| T-shirt (all-over print) | 5400 × 7200 | 300 | PNG | Yes |
| Hoodie | 4500 × 5400 | 300 | PNG | Yes |
| Mug (11 oz) | 2700 × 1200 | 300 | PNG | No (wrap) |
| Poster (small 18×24) | 5400 × 7200 | 300 | PNG or JPEG | Optional |
| Poster (large 24×36) | 7200 × 10800 | 300 | PNG or JPEG | Optional |
| Sticker (die-cut) | 1500 × 1500 (min) | 300 | PNG | Yes |
| Sticker (kiss-cut sheet) | 3150 × 5100 | 300 | PNG | Yes |
| Phone case | 1200 × 2400 | 300 | PNG | No |
| Tote bag | 3600 × 4200 | 300 | PNG | Yes |
| Sublimation tumbler | 8100 × 3450 | 300 | PNG | No (wrap) |
| Sublimation shirt | 6000 × 7200 | 300 | PNG | No |
Why 300 DPI?
Printers render detail at 300 dots per inch. Files below 300 DPI look blurry or pixelated when printed. Files above 300 DPI add file size without visible improvement for most POD platforms. Always design at 300 DPI from the start — scaling up a 72 DPI file to 300 DPI does not add real detail.
How to Check Your PNG Before Uploading
Before uploading any file to a print-on-demand platform, run through this checklist:
- Dimensions match the product template — Compare pixel width and height against the platform's spec.
- Resolution is 300 DPI — Open file properties or use an image editor. Some platforms ignore DPI metadata and calculate from pixel dimensions alone.
- Transparent background is clean — No halo, no semi-transparent fringe around edges. Zoom to 200% to check.
- Color mode is RGB — POD platforms convert to CMYK during printing. Design in RGB for accurate preview colors.
- File size is under platform limit — Most platforms accept files up to 25–50 MB. PNG compression tools can reduce file size without quality loss.
- No unwanted margins — The design should fill the print area without extra white space unless intentional.
PNG vs JPEG: Which Format for POD?
| Factor | PNG | JPEG |
|---|---|---|
| Transparency | Full alpha-channel support | No transparency |
| File size | Larger (lossless) | Smaller (lossy) |
| Best for | T-shirts, stickers, totes, sublimation | Posters, phone cases, photographic prints |
| Text and line art | Sharp edges, no artifacts | Compression artifacts on edges |
| Color depth | 16 million + alpha | 16 million, no alpha |
Use PNG for any product that needs a transparent background (t-shirts, stickers, tote bags). Use JPEG for full-bleed photographic prints where transparency is not needed.
Step-by-Step: Prepare a PNG for POD Upload
- 1. Create your canvas at the exact pixel dimensions for your product. Do not start small and scale up later.
- 2. Set resolution to 300 DPI in your design tool (Photoshop, Canva, GIMP, or Affinity Designer).
- 3. Remove the background completely. Use "Remove Background" in Canva, or the Magic Wand tool in Photoshop. Check at 200% zoom for fringes.
- 4. Export as PNG-24 (not PNG-8, which only supports 256 colors and limited transparency).
- 5. Verify dimensions — Open the file in any image viewer and confirm pixel width and height match your target.
- 6. Check file size — If over 25 MB, run through a PNG optimizer (TinyPNG, OptiPNG) without reducing resolution.
- 7. Upload to your POD platform — Follow the platform's template and safe-zone guides.
Common POD Size Mistakes (and How to Fix Them)
- Mistake: Designing at 72 DPI and uploading as-is. Fix: Create a new 300 DPI canvas and rebuild or resize the design. Scaling a raster file from 72 to 300 DPI will look blurry.
- Mistake: White box around the design on a dark shirt. Fix: The file is not a transparent PNG. Re-export with transparency enabled.
- Mistake: Design is too small on the shirt. Fix: Fill more of the template area. Standard t-shirt print zones are roughly 12 × 16 inches (3600 × 4800 px at 300 DPI).
- Mistake: Colors look washed out when printed. Fix: POD printers use CMYK which has a smaller gamut than RGB. Boost saturation slightly in your design (5–10%) to compensate.
- Mistake: File too large to upload. Fix: Use a PNG compression tool. Do not reduce resolution below 300 DPI.
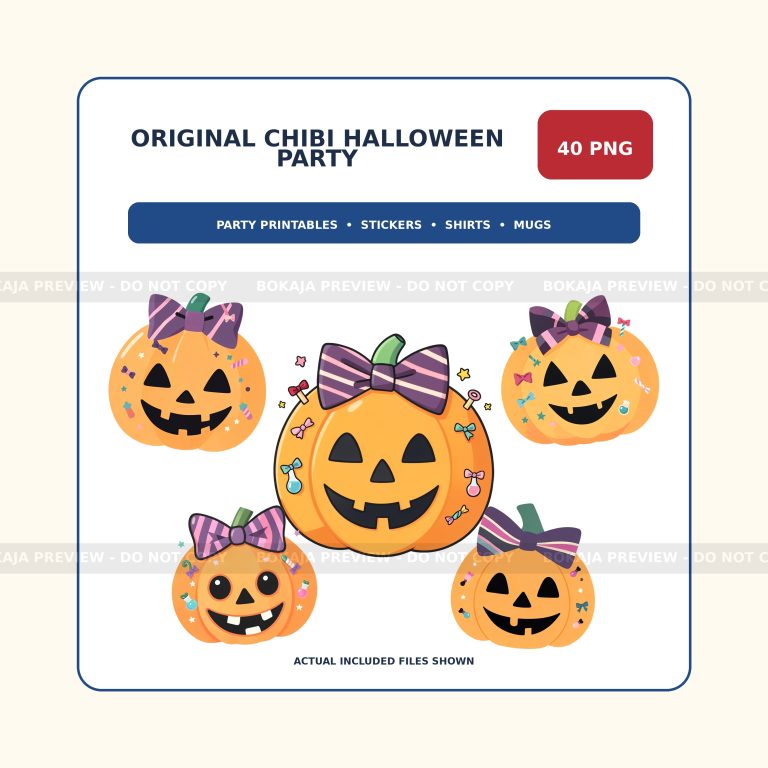
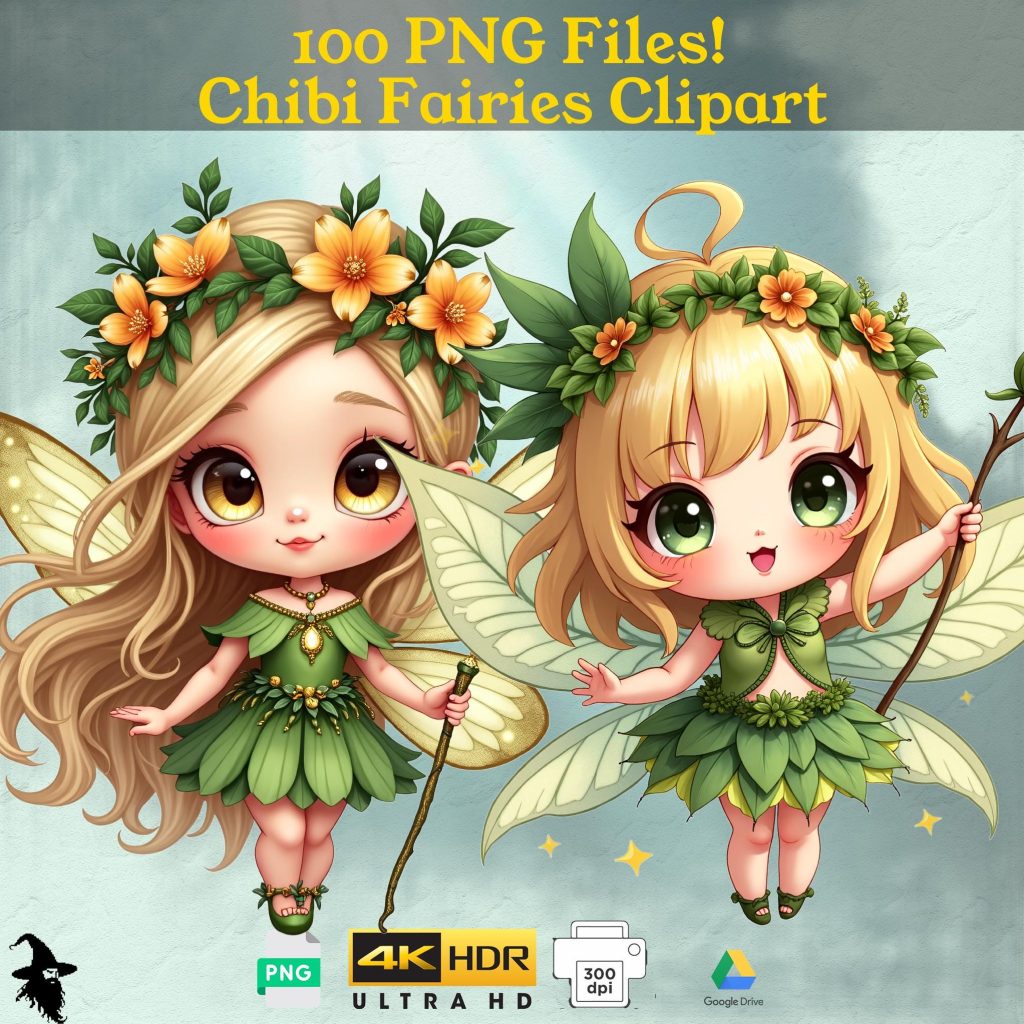
Using Bokaja Transparent PNG Clipart for POD Projects
Bokaja PNG clipart bundles include high-resolution transparent PNG files (1600 × 1600 px) that work as design elements inside larger POD canvases. For example:
- Place a Bokaja chibi character on a 4500 × 5400 t-shirt canvas in Canva or Cricut Design Space.
- Combine multiple PNG elements into a sticker sheet layout at 3150 × 5100 px.
- Use patriotic or seasonal PNG graphics for sublimation tumbler wraps (8100 × 3450 px canvas).
Browse <a href="https://bokaja.com/product-category/pngsets/">PNG Sets</a> or the <a href="https://bokaja.com/shop/">Bokaja shop</a> for transparent PNG bundles. Before selling finished products, review the <a href="https://bokaja.com/digital-product-license/">digital product license</a> and <a href="https://bokaja.com/digital-downloads-refunds/">download and support notes</a>.
Related Guides
- <a href="https://bokaja.com/commercial-use-clipart-license/">Commercial Use Clipart: What You Can Sell and What You Cannot</a>
- <a href="https://bokaja.com/transparent-png-clipart-canva-vs-cricut/">Transparent PNG Clipart for Canva vs Cricut</a>
- <a href="https://bokaja.com/print-on-demand-a-beginners-guide/">Print on Demand: A Beginner's Guide</a>
- <a href="https://bokaja.com/25-cricut-projects-that-actually-sell-with-profit-margins/">25 Cricut Projects That Actually Sell</a>
FAQ
What is the minimum DPI for print-on-demand?
300 DPI is the minimum for sharp results. Some platforms accept 150 DPI but the print quality will be visibly lower — fuzzy text, soft edges, and muted colors.
Can I use a JPEG instead of a PNG for t-shirts?
Only if the JPEG has the exact print-area dimensions and you do not need transparency. For most t-shirt designs, you need a transparent PNG so the design sits on the fabric without a background box.
What size should a PNG be for a 20 oz sublimation tumbler?
Use approximately 8100 × 3450 pixels at 300 DPI for a full-wrap 20 oz skinny tumbler. This gives enough coverage for the wrap-around seam.
Does Canva export at 300 DPI?
Canva exports PNG files at the pixel dimensions you set. If you set the canvas to 4500 × 5400, the file will be 300 DPI when printed at 15 × 18 inches. Canva does not embed DPI metadata by default, but most POD platforms calculate effective DPI from pixel dimensions and print size.
How do I make a PNG transparent?
In Canva, use the "Remove Background" tool then export as PNG with transparency. In Photoshop, hide or delete the background layer then File → Export → Export As → PNG with transparency checked. In GIMP, use Layer → Transparency → Add Alpha Channel, select the background with Fuzzy Select, delete it, then export as PNG.
What happens if my PNG is too low resolution?
The print will be blurry, pixelated, or soft. POD platforms may reject the file or show a quality warning. Always design at full 300 DPI resolution from the start.